With Omniconvert you can create and track multiple different types of goals:
- Local goals (will apply only for the experiment where it’s created): Track Clicks
- Global goals (can be applied for all experiments): On Click, Pageview, Scroll and Custom Goals.
Please make sure you have the A/B Editor Extension installed, which you can download from here.
Track Clicks Goal
This type of goal is the easiest to implement and it helps you keep track of how many visitors clicked on a certain element on your page.
You can create an Track Clicks goal in the Visual Editor, in any A/B test or Personalization experiment.
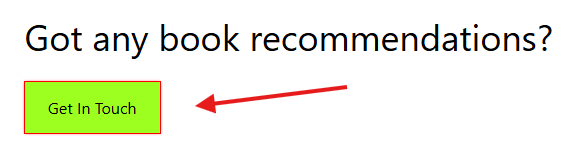
To do so, while in the Visual Editor you need to click on the element that you want to track clicks for and select from the menu the options Track Clicks.

Once you select this option, you will notice a red border around the element that is being tracked, which is applied to all the variations:
Note 1. An Track Click goal will only be available within the current experiment, it is not a global goal that can be reused in future experiments.
Note 2. If the element that you wish to track clicks on the Variation exists on the Control as well, the data will be registered for both of them
On Click Goal
The On Click goal functionality is the same as the Track Clicks goal, but this one is global. This means that you can use the same goal for multiple experiments.
You can also use this one to track the same element across multiple pages.
This is a rather simple goal to integrate as it only requires the element which you want to track to be added. To create this goal you need to:
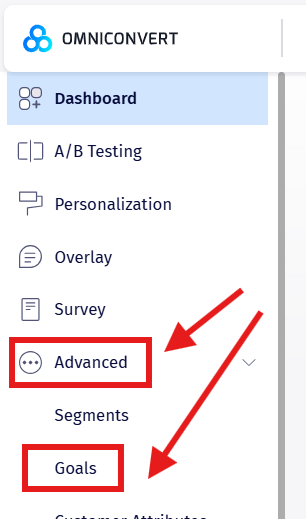
1. From the left menu click on Advanced and then Goals.

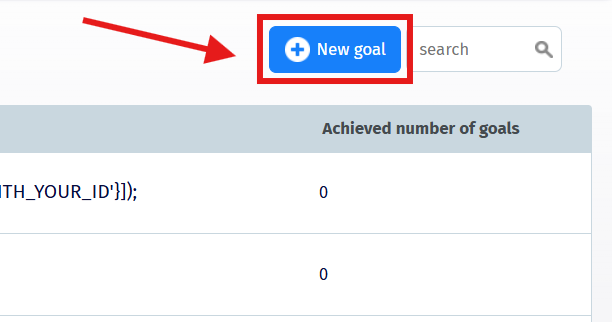
2. Press on the New Goal button on the right side of your screen.

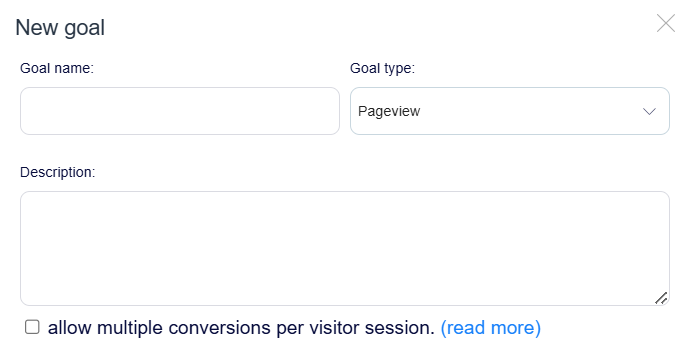
3. Now you will be able to choose a name, description and whether the experiment will allow multiple conversions per visitor session.
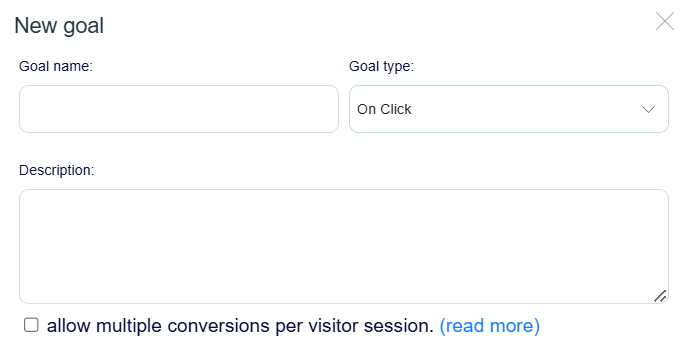
With this option enabled, the goal will be tracked multiple times during the same visit session and for the same visitor.
4. Now select the On Click from Goal type and you will have to insert the element you want to track.
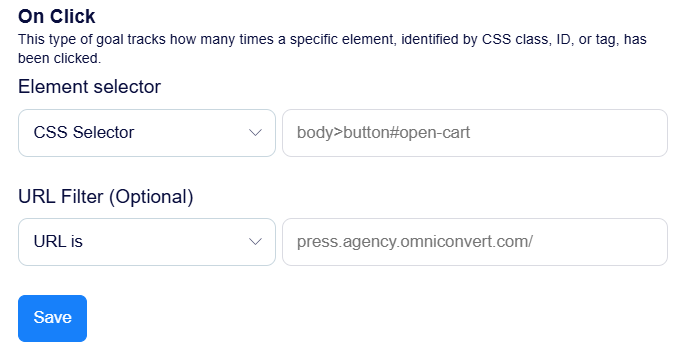
Here you have multiple options when it comes to inserting your element.

If you do not have the developing skills, worry not, here is how to find each element id by its type:
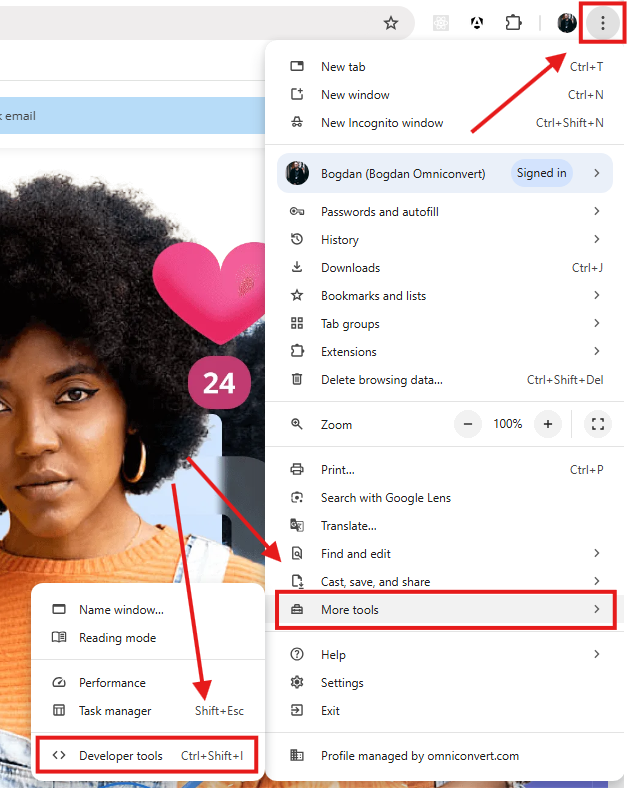
- While on your website, open the Developer Tools either by pressing Ctrl+Shift+I or by pressing the 3 dots next to your Account, then go to More Tools, and finally Developer Tools.
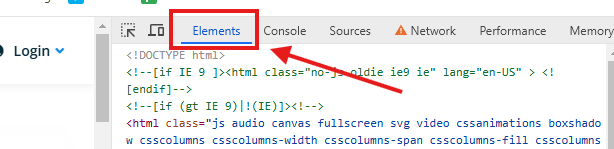
- Once the console opens, go to the Elements tab.
- Now press on the Elements Inspector button. This will allow you to hover your mouse cursor over any element on the website and inspect it.
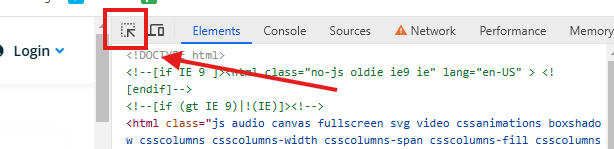
- If you click on the element, it will get highlighted in the Elements tab on the console.

- Depending on which type on which type of element selector you decide to use, here is how to obtain it:
HTML Tag Selector
- Go to the highlighted element in your console and copy the value situated in front of class. In this case it will be ‘button’
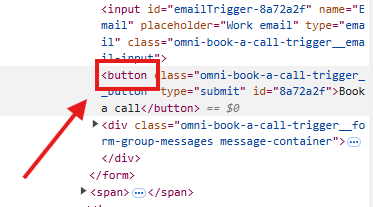
- This is useful if you want to track all the elements on a website which have the same tag.
HTML Element ID Selector
- Go to the highlighted element in your console and copy the value situated after id. In this case it will be ‘8a72a2f’.
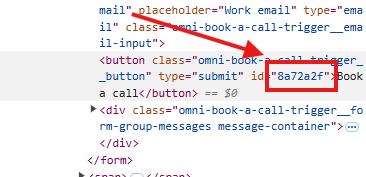
- This is useful if you want to track all the elements on a website which have this exact id, but please bear in mind that not all elements will have an id.
HTML Class Selector
- Go to the highlighted element in your console and copy the value situated after class. In this case it will be ‘omni-book-a-call-trigger__button’

- This is useful if you want to track all the elements on a website which have the same class, but please bear in mind that you can only use one class for a goal, and elements can have multiple classes.
- If your element has multiple classes we advise using the CSS Selector option.
CSS Selector
- Go to the highlighted element in your console, right-click on it and select Copy, then Copy selector.
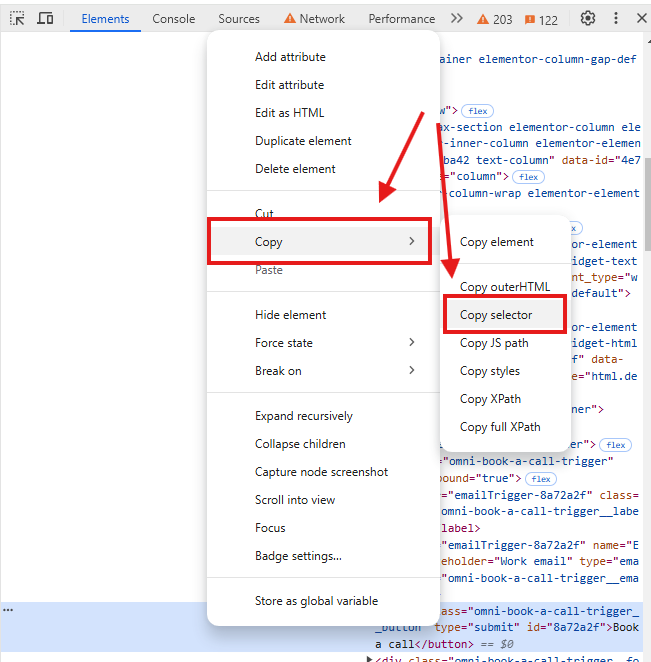
- This is useful if you want to track a specific element and is also the best option to use when setting up an On Click goal.
5. Once you copy the selector via one of the previous methods, go to the goal screen and paste it.
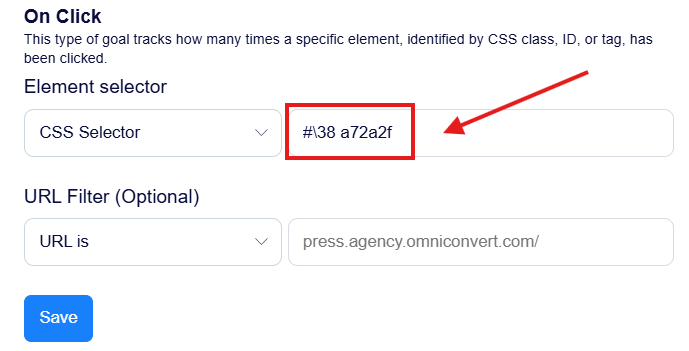
6. Once you are done, press Save.
Pageview Goal
The page view goals allow you to track how many people viewed a
particular web page.
It is very simple to create and track one since you don’t need any kind of technical integration. Here is how to do it:
1. From the left menu click on Advanced and then Goals.
2. Press on the New Goal button on the right side of your screen.

3. Now you will be able to choose a name, description and whether whether the experiment will allow multiple conversions per visitor session.
With this option enabled, the goal will be tracked multiple times during the same visit session and for the same visitor.
4. Now select the goal type to be Pageview, select the condition from the list and enter the URL on which you want to track the visits.

5. Once you are done, press Save.
Scroll Goal
This goal helps you track how much a user has scrolled on the pages where the experiment is running or on the ones selected.
Once again, a fairly simple goal to implement with no code integration required. Here is how to do it:
1. From the left menu click on Advanced and then Goals.

2. Press on the New Goal button on the right side of your screen.

3. Now you will be able to choose a name, description and whether the experiment will allow multiple conversions per visitor session.

With this option enabled, the goal will be tracked multiple times during the same visit session and for the same visitor.
4. Now select the goal type to be Scroll and select the scroll value. You can go with either an existing option or input a custom value.
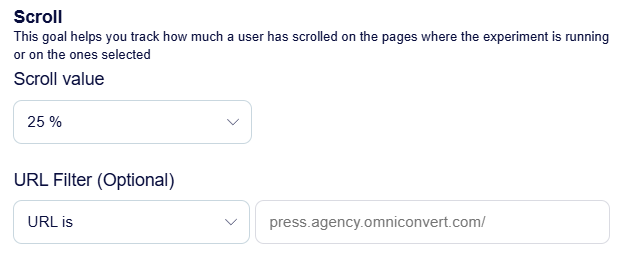
5. Once you are done, press Save.
Custom Goals
A custom goal is a goal that can be triggered wherever you want but needs explicit integration.
Every time you create a new custom goal, a javascript snippet of code is generated. This is how you create one:
1. From the left menu click on Advanced and then Goals.

2. Press on the New Goal button on the right side of your screen.
3. Now you will be able to choose a name, description and whether the experiment will allow multiple conversions per visitor session.

With this option enabled, the goal will be tracked multiple times during the same visit session and for the same visitor.
4. Now select the goal type to be Custom Goal
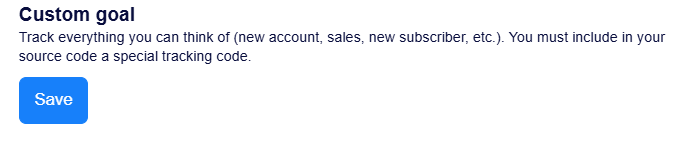
5. Once you are done, press Save.
6. Wait for the snippet of code to be generated.

How to integrate a Custom Goal
The conversion tracking code looks like the one below and can be integrated into any known JavaScript event, such as on-click, on-load, on-mouse-over, on-mouse-out, on-focus etc.
This is how a snippet of code for a goal implementation looks like:
<script>_mktz.push(['_Goal','NAME','VALUE']);</script>
- NAME – the name of the goal, as Omniconvert defines it (in the above example, ‘custom-one’).
- VALUE – its numeric value. Some goals are selling goals, so it is necessary that this parameter receives the value of the conversion (in a 12345.67 format, without a currency attached). If the conversion is void of value, the number is 0.
Install a custom Goal using GTM
In order to set up a custom goal in Explore, we need to insert an Explore specific script at certain moments that will define the goals.
There are some conditions that should be previously met:
- The Explore library script must be installed on your website.
- The GTM library must be installed on your website.
- Basic JavaScript knowledge will be needed in some cases to define GTM trigger conditions
To achieve this, we’ll use Google Tag Manager (GTM) to deploy the scripts, as GTM should be already installed on your website and one of its features is to inject custom HTML scripts into the website at specific moments that will define the name and purpose of the goal (eg. ‘add-to-cart’, ‘filter-used’, ‘specific-cta-clicked’ etc.).
In the example script below, the ‘new-goal’ string defines the name of the goal that you’ll see in Explore after installing the tag correctly:
<script>_mktz.push([‘_Goal’,’new-goal‘,’VALUE’]); </script>
The ‘new-goal’ part of the script should be adapted to reflect the tracked action and should allow you to differentiate each goal, if named correctly.
Steps for implementation
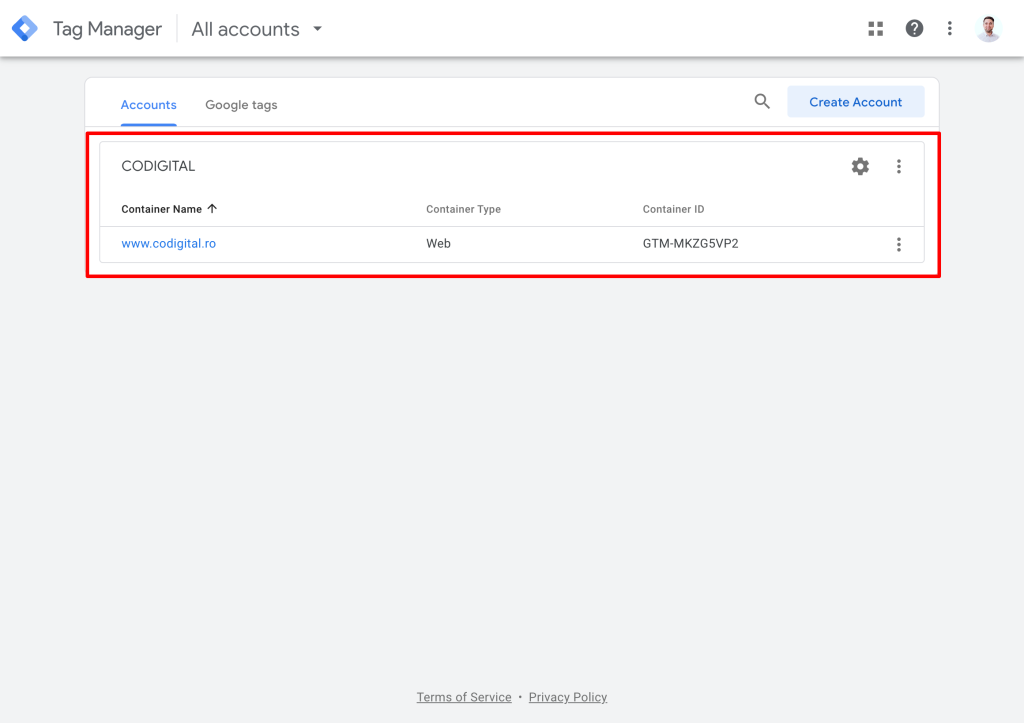
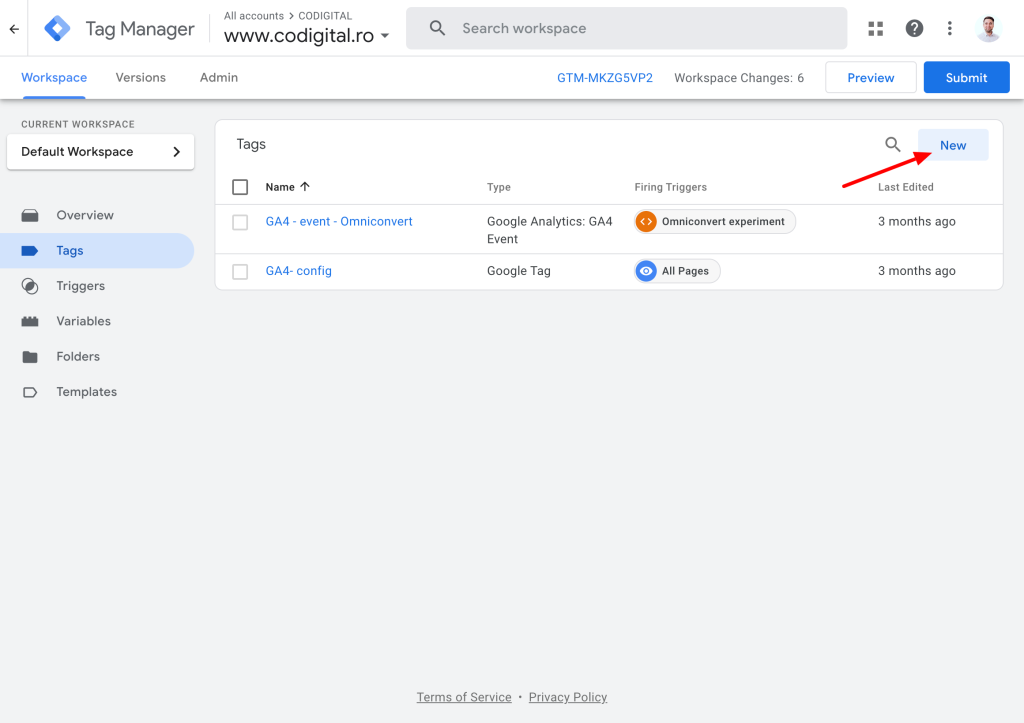
Step 1. Navigate to Google Tag Manager, double-click your account and open your most up-to-date workspace (eg. Default workspace), afterward click on Tags section.

Step 2. Click on New to create a new tag.
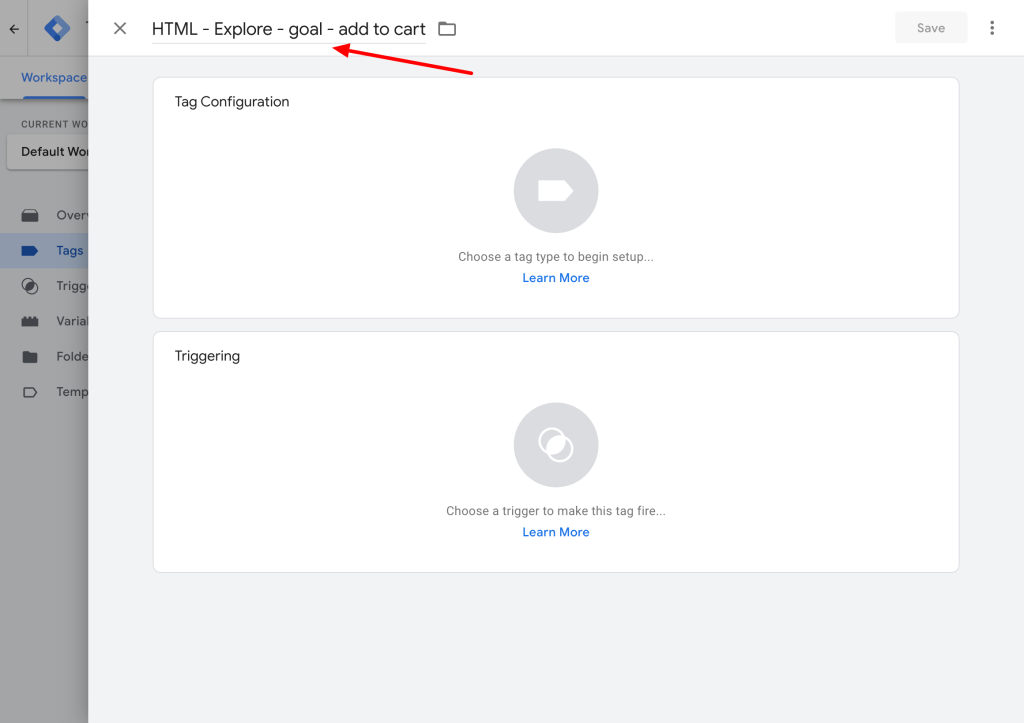
Step 3. Give your tag a name that should reflect the type (HTML), platform (Explore), purpose (goal) and the goal specific action (eg. add to cart).
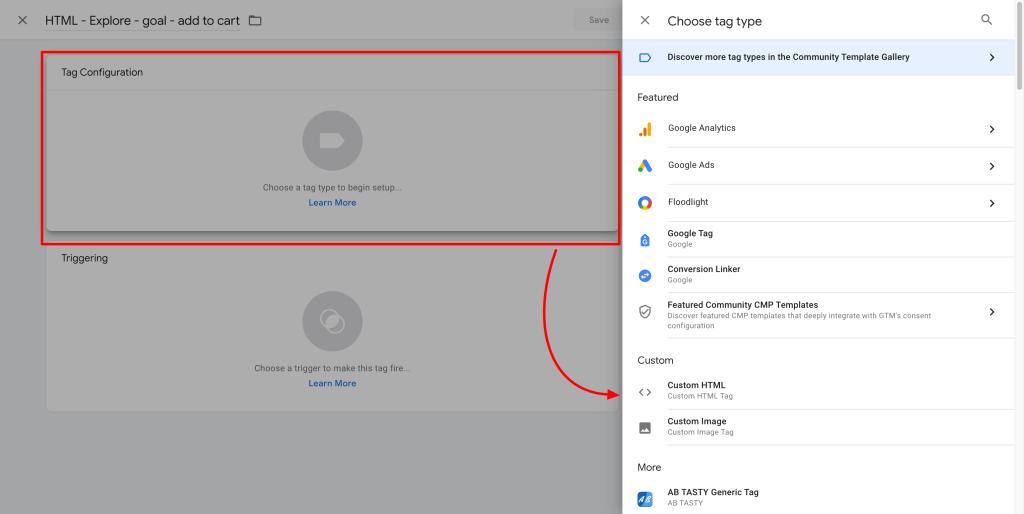
Step 4. Click on Tag Configuration and select Custom HTML as your tag type.
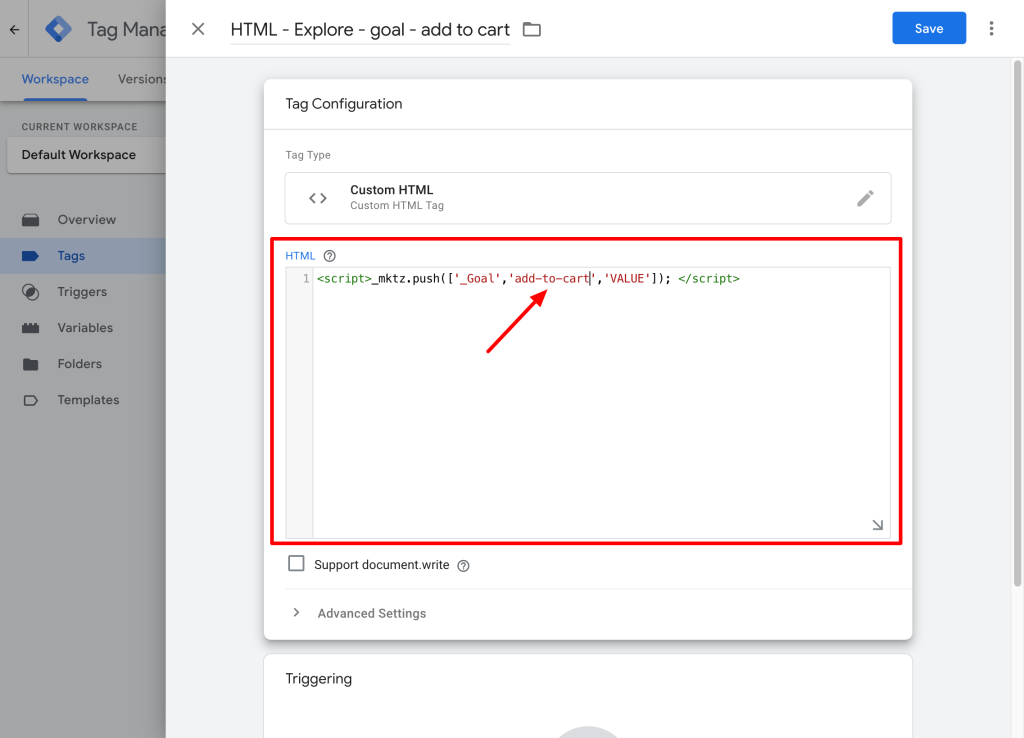
Step 5. Copy the example script below and replace new-goal with add-to-cart to fit our example.
Make sure to define the goal as needed: <script>_mktz.push([‘_Goal’,’new-goal‘,’VALUE’]); </script>
Step 6. Select or create a trigger to your tag that should define the moment in which your tag will fire and your goal will be sent to Explore, in accordance with the goal action (eg. add to cart click).
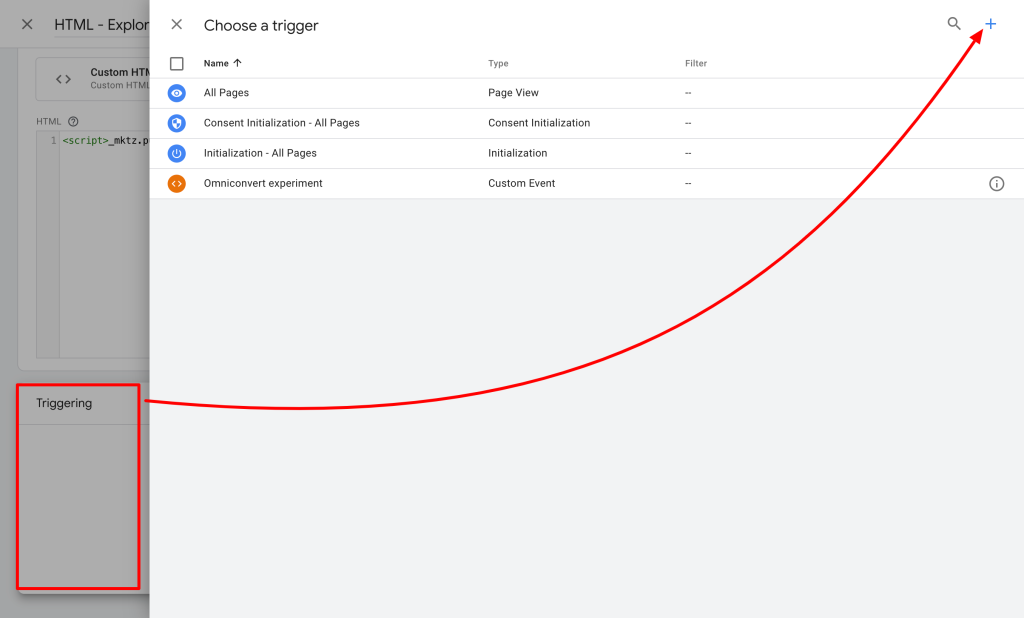
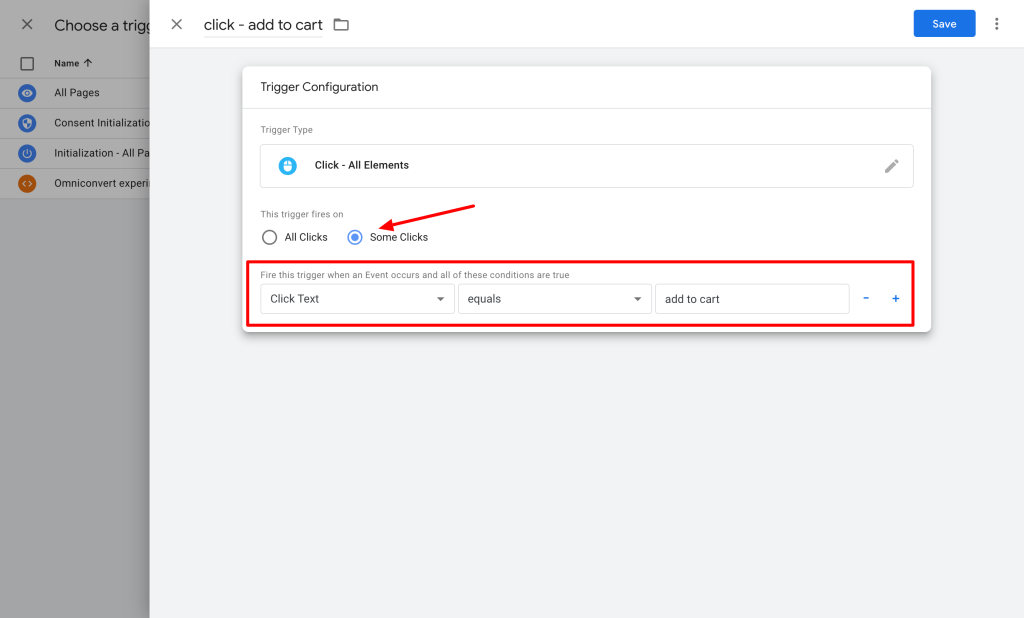
Step 7. Name your trigger (trigger type – action) and select the All elements click as the trigger type.

Step 8. Click on Some Clicks and add conditions for your trigger, in order to trigger the tag only when you intend so. For the sake of our example, a quick, non-optimized way to trigger a button click event would be to set Click text equals Add to cart, with the presumption that the text displayed on your add-to-cart button is exactly add to cart.
Step 9. If you don’t find the Click text or other relevant parameters such as Click Classes, Click ID, please make sure that you enable them first from the parameter drop-down menu.

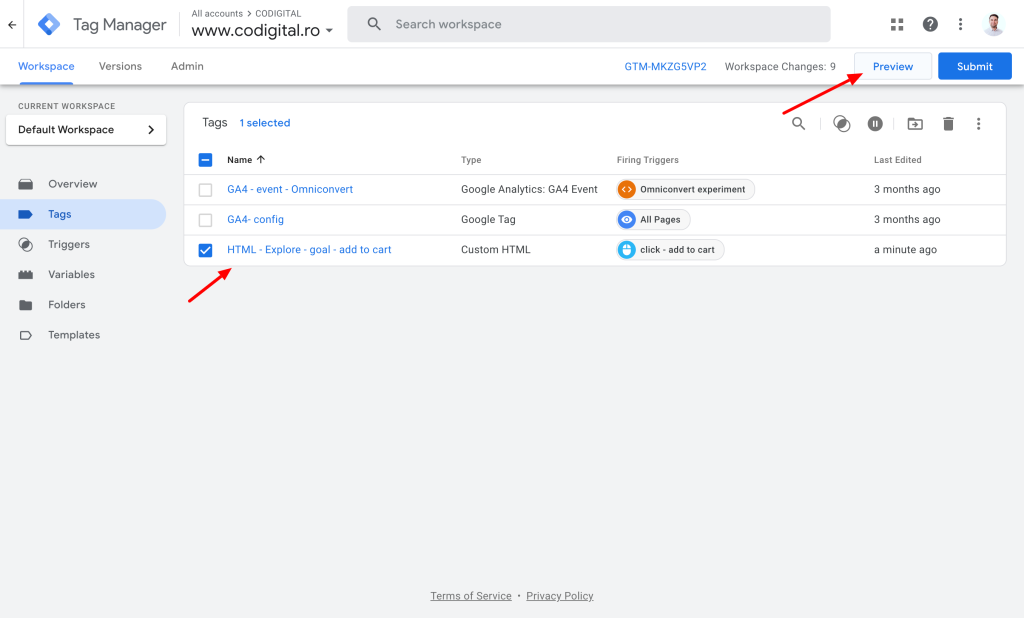
Step 10. Save your tag.

Step 11. Preview your container to verify if the tag is triggering when expected.
Note: You will be prompted to add your website’s URL and to generate the action that will trigger the tag.
Step 12. Publish your container and wait for a couple of hours before validating that your Explore goal count will start increasing.

Using a Goal
After you created your goal, do not forget that you need to manually add it as a goal for your experiments. This can be done from the editing view of the experiment, by going to the Traffic allocation & Goals section:
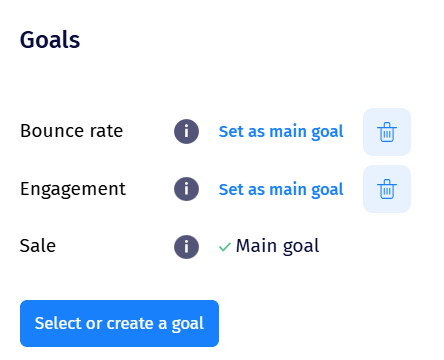
You can also create new goals from this view, as an alternative to going into Advanced – Goals.
Good to know
- An experiment allows as many goals as needed. You can set up different goals, on different elements, on the same page.
- The on click, pageview, scroll and the custom goals are global and you can find this type of goals that you have created in the main menu, choosing the option ‘Advanced -> Goals’.
- This means that once implemented, you can reuse them in any future experiment.
- The general tracking code must be installed on each page where the conversion code is used.
- The parameter VALUE accepts negative numeric values.