1. Insert the Image
1.1. Enter the Surveys tab and create your questions and/or lead collector. After saving your questions you can focus on the design of the survey.

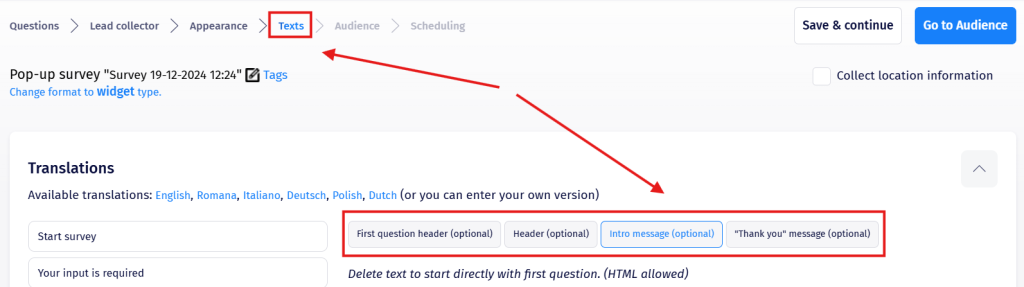
1.2. In order to upload an image into your survey you have to go to the Texts section and choose where you desire to upload the image:
- First question header: image will appear only for the first question.
- Header: image will be available for all the questions, as well as for the lead collector.
- Intro message: imagine will appear in the message that appears when the survey is opened.
- “Thank you” message: image will appear only in the thank you message that appears when the survey is ended.
1.3. Click on the Image icon that is used for uploading pictures.

1.4. Select the Upload tab.

1.5. Click on Choose file to select the image you want to upload.

1.6. Press on Send it to the Server to upload it and wait for the process to finish.
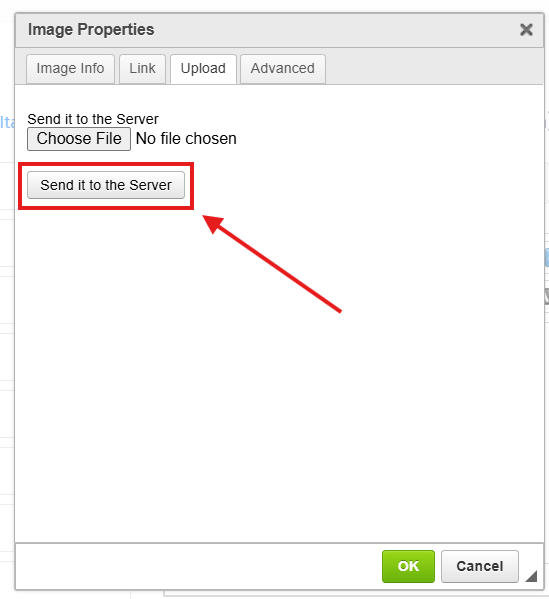
Once the process is done, you will see the following message:

1.7. Press Ok in the bottom right corner to validate the process.
2. Edit the Source Code
2.1 After uploading the picture, click on Source in order to have access to the source code of the Header, Intro Message or Thank you message of the survey.

2.2. Erase the part of the code that describes the size of the image, ‘width’ and ‘height’, used in the <style> attribute.

2.3. The technique used for making the image responsive is based on media queries.
The following block of code has to be inserted, at the beginning, into the source code of the survey and will allow the image to scale properly on mobile devices:
<style type=”text/css”>
@media screen and (max-width: 480px) {
html body #_mktz_survey #_mktz_header img {
width: 100%;
display: block;
margin: auto;
}
}
</style>

3. Preview the Survey
3.1. After completing all these steps you can preview the survey by going to the Appearance section and scrolling down to the Preview portion.
Click on the Desktop, Mobile or Tablet buttons in order to check how your survey will appear on these devices.


3.2. You can also Preview the survey in another tab in your browser by going to the Survey and pressing on the Preview button.

3.3. When looking at the preview opened in a different tab, to preview it on a mobile device, you can use the dev tools provided by the browser.
Either right click on the website page and select Inspect, or press F12. Both these options will open the Developer Tools.

3.4. Now press on the Device Type button and it will turn your desktop view into a mobile view.

4. Useful tip
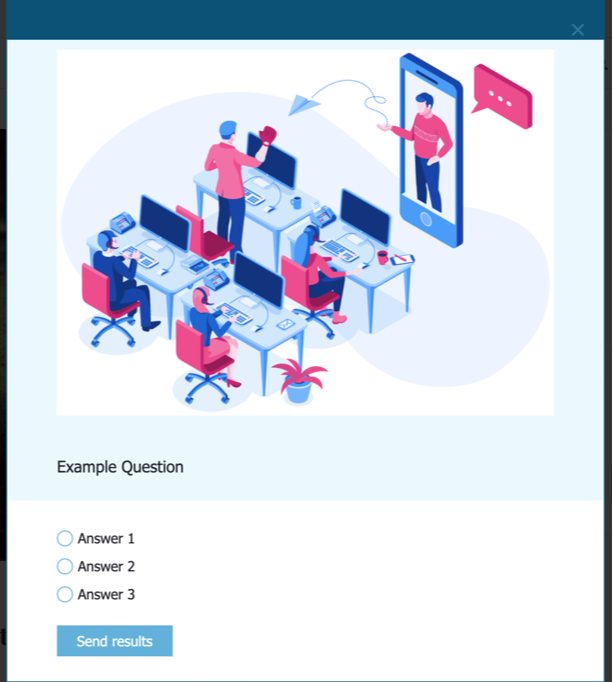
Sometimes the image that you desire to include into your survey won’t fit perfectly in the container of the survey. In this case, the survey will have a similar appearance to the one below.

In this situation, the container of the survey needs to be adjusted in order for the picture to fit properly.
In order to be able to make this adjustment select the Appearance section into the survey and go to Advanced CSS. Then use this list of selectors corresponding to the survey to modify the width of the container.
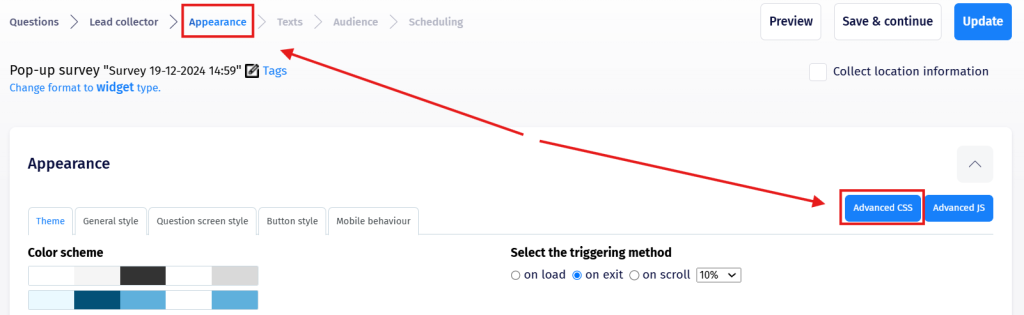
The selected width will depend on the width of the picture (in the given example the picture has a width of 450px).
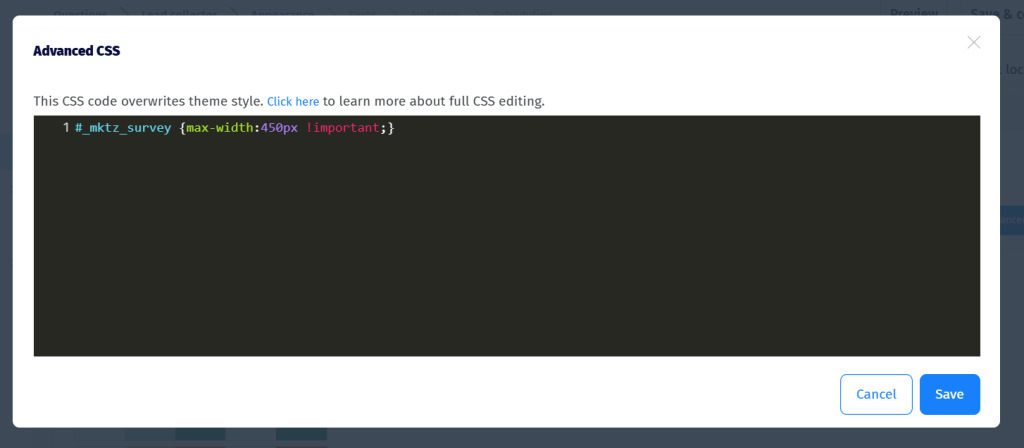
The max-width attribute will be used so that we can keep the survey container responsive.
Once you are done, press the Save button.
Finally, look at the Preview of the survey from the Appearance tab to see the changes.
