Before proceeding in creating your Split URL Test, make sure the tracking code is installed on all the pages you want to include in this experiment.
You can find more details regarding how to install the tracking code here.
Also please make sure that you have the Omniconvert Explore A/B Editor extension installed as this will provide the best experience for editing your experiments. You can install it from here.
1. Creating the Split URL Test
Go to the A/B Testing section into your dashboard and select ‘New A/B Test‘:

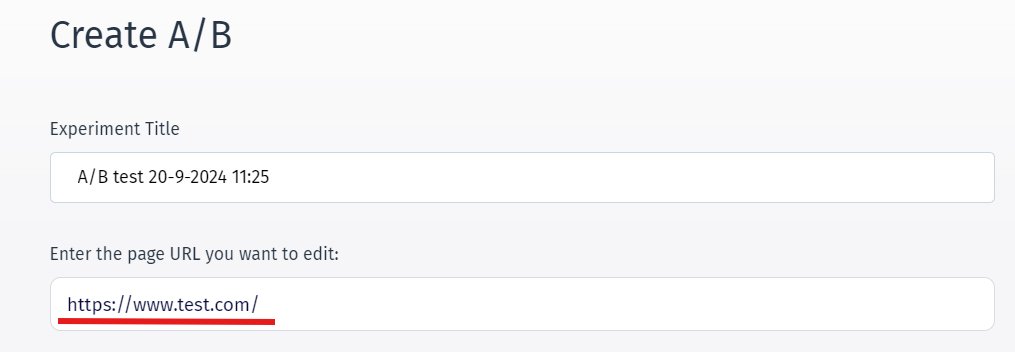
Insert the URL of the page that you want to act as the original version into the split test and select ‘Load URL‘:
2. Setting the URL redirect
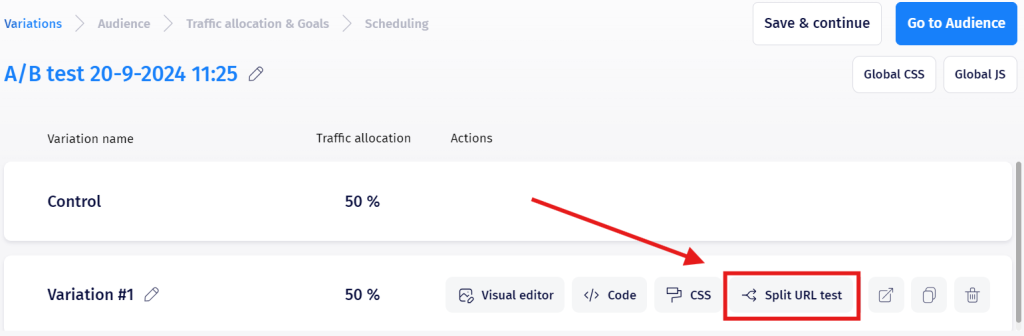
Click on Variation#1 and select from the drop-down section the option ‘Redirect to URL‘ :
Into the pop up that will appear after selecting this option insert the URL of the second page, the one that you want to test against the Control (the original webpage that has no changes applied) and hit ‘Save‘:

You can include as many pages as you desire into your Split URL Test by selecting ‘New Variation’ and adding a new split URL that variation:

3. Setting the audience
Into the ‘Audience‘ section, you will be able to see the URL of the initial page included in the experiment and you can apply changes on that URL if you decide to change it:
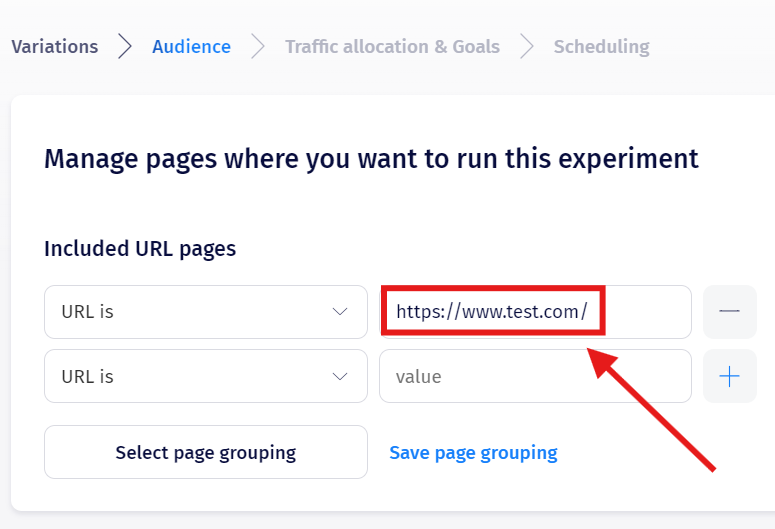
Attention! You must not include the redirected page link into the Audience. Doing so you’ll create a continuous white page loop for the users that will be redirected to the variation.
More information regarding how to set your audience properly you can read here.
4. Setting the segmentation
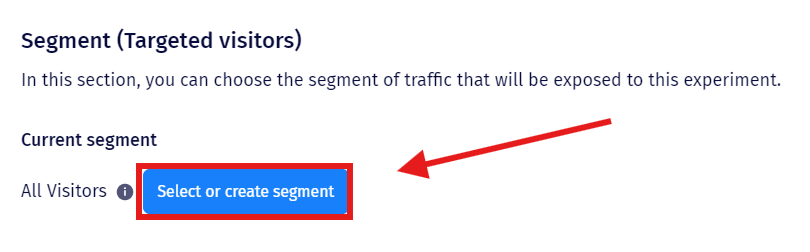
After you’ve done managing the pages where you want to run the experiment, you can go down to the Segment (Targeted visitors)
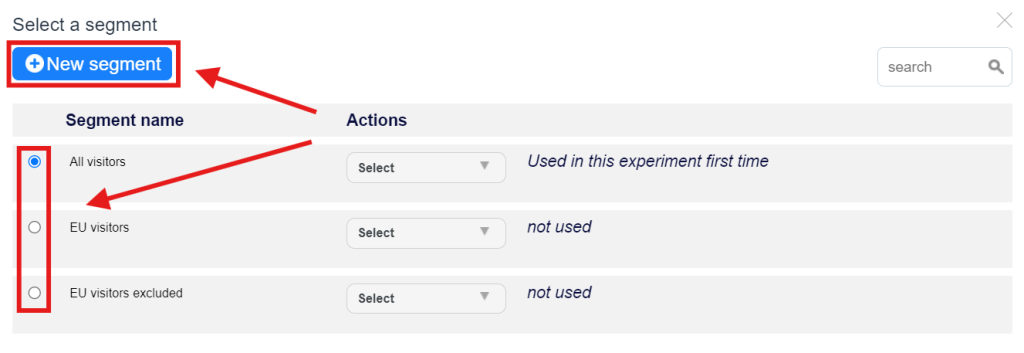
By default the experiment will be set to All visitors, just press on the Select or create segment to change it.
After you’ll click on it the ‘Select a segment’ window will appear. From this window you can choose a segment that has already been created or create a new one:
Furthermore, you can also customize the segmentation by the Device Type, meaning only visitors using the specified device will be able to see the experiment.

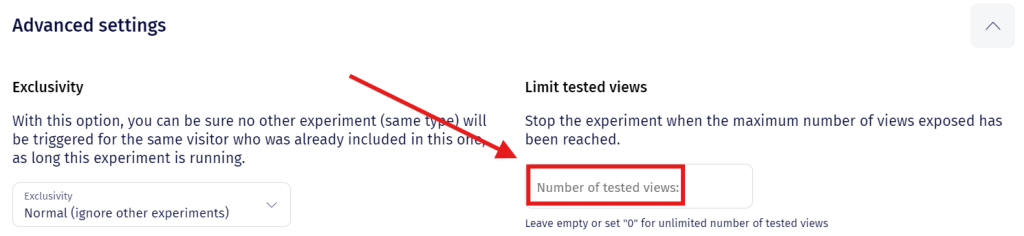
Advance Settings allows you to stop set limits for the experiment, meaning it will stop once a specified threshold is reached.
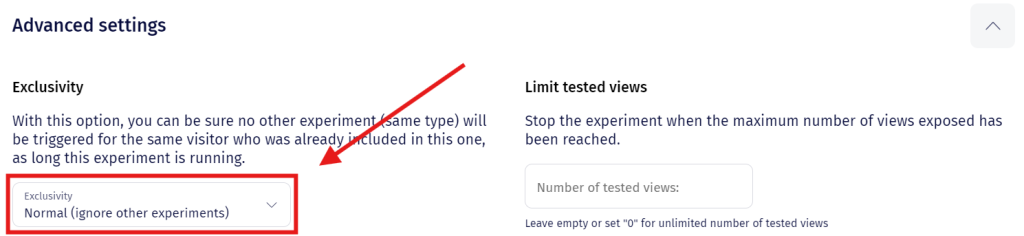
It also allows you to set exclusivity for your experiments, meaning you can either run multiple experiments at once or have only one of them prioritized.
5. Traffic Allocation & Goals
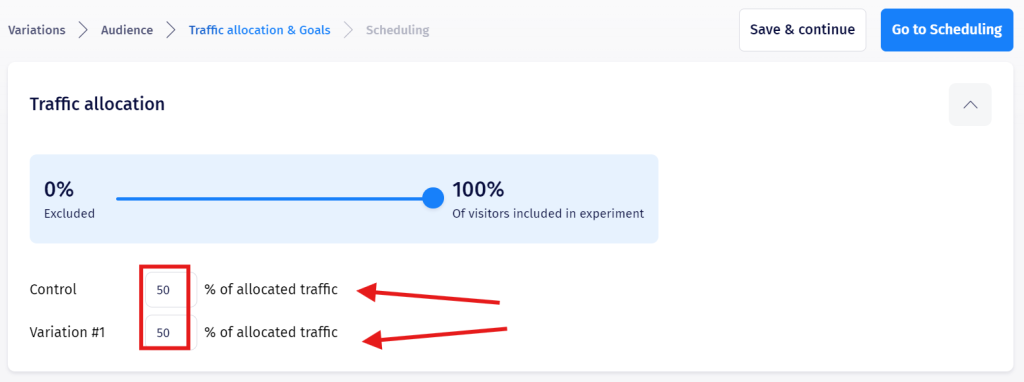
Into the ‘Traffic Allocation & Goals’ tab you will be able to see and change the amount of traffic allocated to this experiment, and also the traffic allocation between the Control and Variation / Variations.
Move the slider in order to determine the percentage of visitors from the total amount that will be included in the experiment.
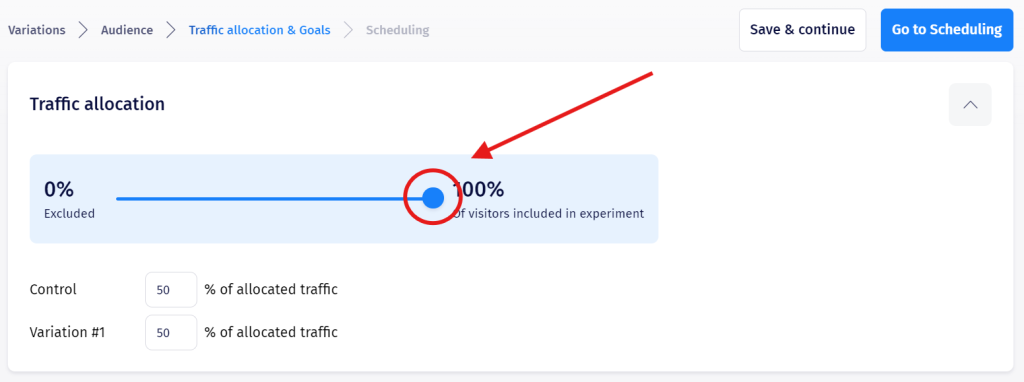
By changing the values of the allocated traffic you can decide how the users will be split between Control and Variation.
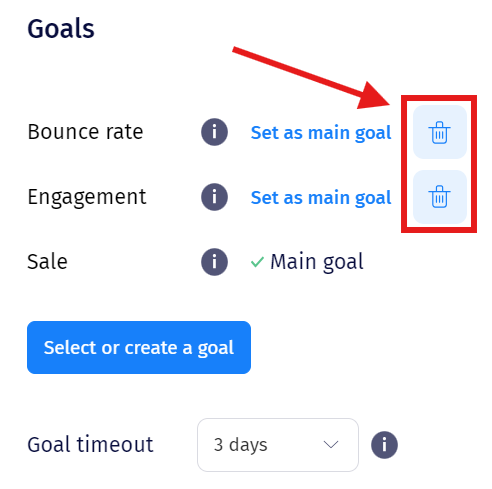
You can also add or remove specific goals from your experiment. These goals are measured by default but by pressing the Delete button you can remove them.
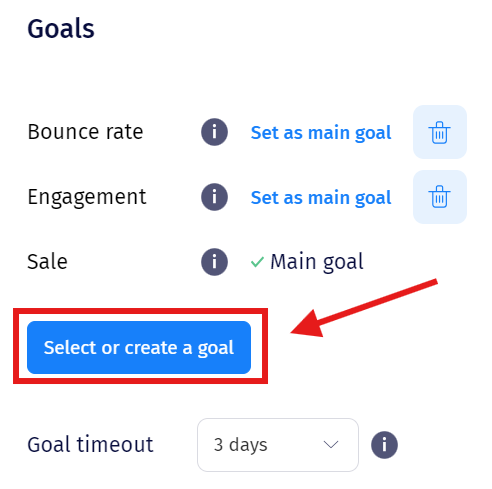
You can either select an already existing goal or create a custom one. Please remember that some goals might require integration on your website.
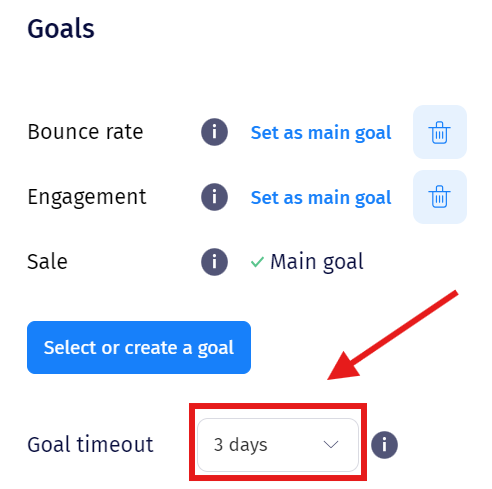
You are also able to select a goal timeout. This is a time interval after which all conversion goals achieved are not recorded anymore for this particular experiment.
6. Scheduling and publishing
In the Scheduling section you can apply even more advanced customization to your experiment regarding time frames in which the experiment will remain active. You can first select the timeframe when the experiment will take place.
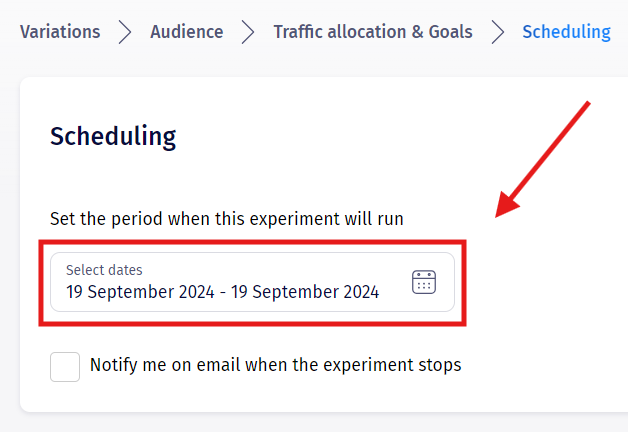
You can then check this box if you want to be notified of when a particular experiment stops, using either one or multiple email addresses.

You can also set up excluded timeframes, either by selecting specific days or specific hours throughout the day. By default the Excluded hours intervals are not displayed but it will appear once you press the Add another interval button. The timezone options represents the timezone which should apply to the hour intervals you have selected previously.

You can choose to Publish your experiment or to Save it as a draft:
