The first thing you’ll have to know is the answer to this question: What is A/B testing?
What is an A/B test?
A/B testing (sometimes called split testing) is the act of running two versions of a web page at the same time to see which one performs better. You compare two variants of the same page (the original version is called ” control ” and the changed version is called ” variation “) to visitors at the same time. The one that gives a better conversion rate, wins!
Now that you know what A/B testing means let’s start creating your first experiment of this kind.
Important: Make sure you have the Omniconvert Explore A/B Test Editor Extension for your browser as this will allow you to edit the Variations, you can install it from here.
Step 1. Create a new A/B test experiment
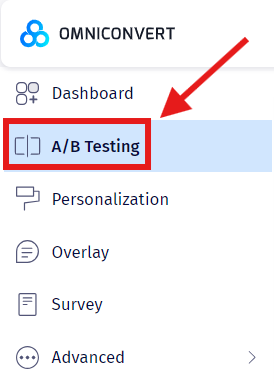
From the main left menu choose the ‘A/B Testing’ option.
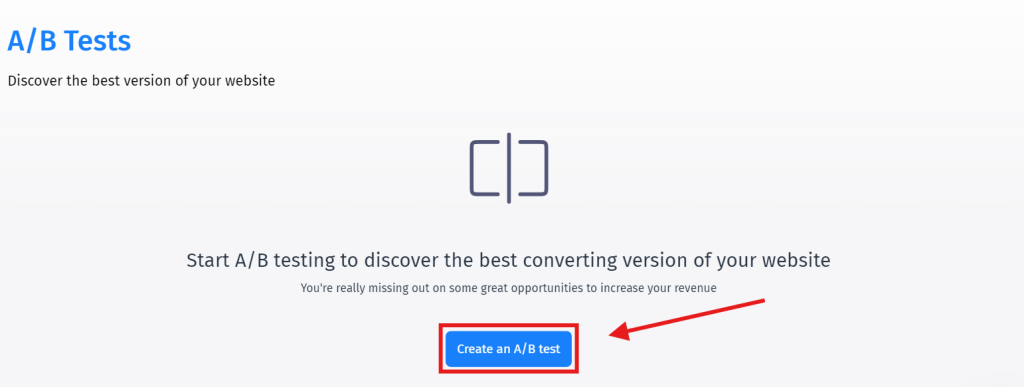
From the next window choose New A/B Test.
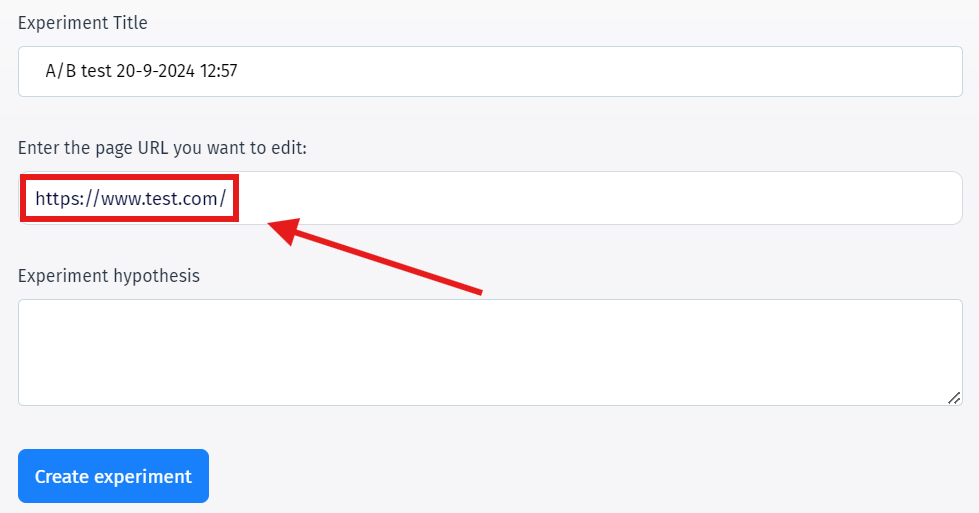
In the next window you can add the URL of the web page you intend to make changes to (Enter the page URL you want to edit).
Step 2. Apply the changes in the variation editor
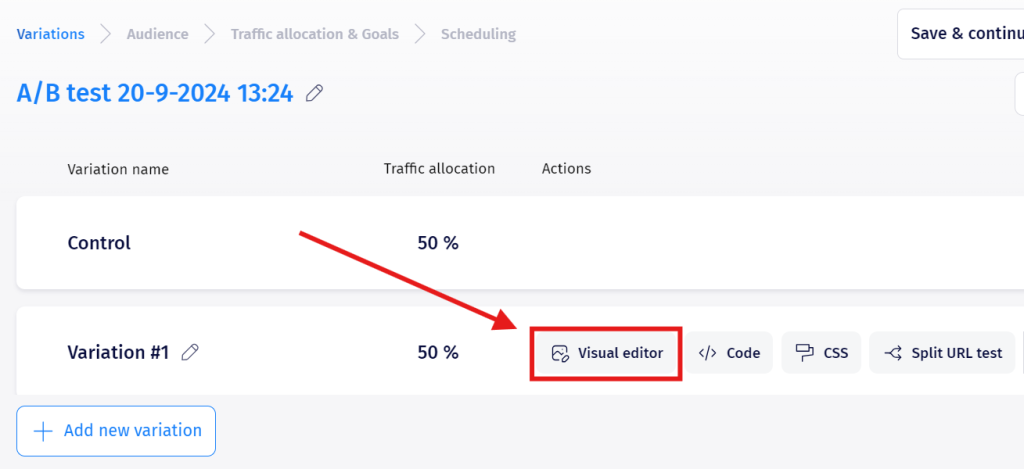
Let’s start implementing the changes that you want in the Variations tab. To do this, press the Add new variation button in order to create one.

Once you created one, press on the Visual Editor to begin the editing process.
Once you enter the Visual Editor a new page will open containing the URL you have previously entered, here every time you hover your mouse over a page element (image, link, piece of text, etc.) inside the variation, you will be able to edit it.
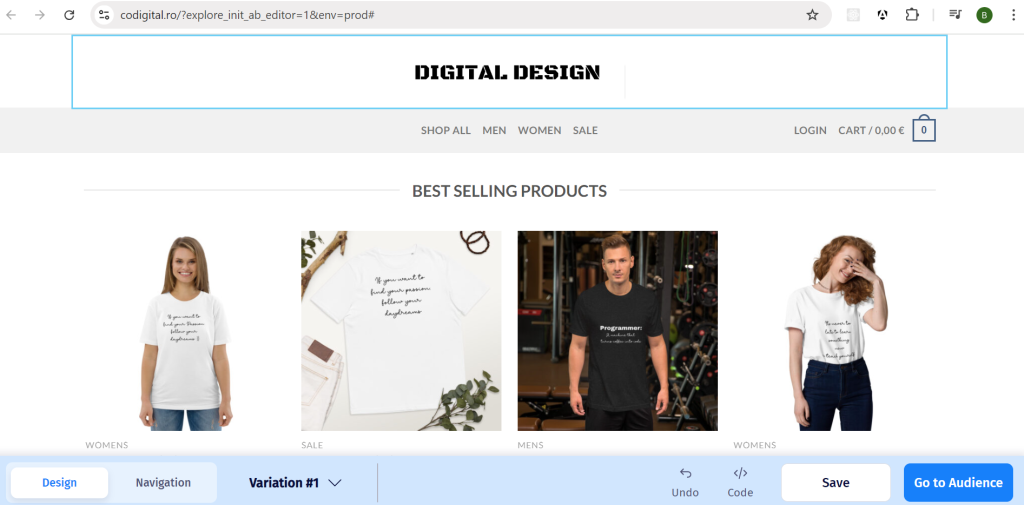
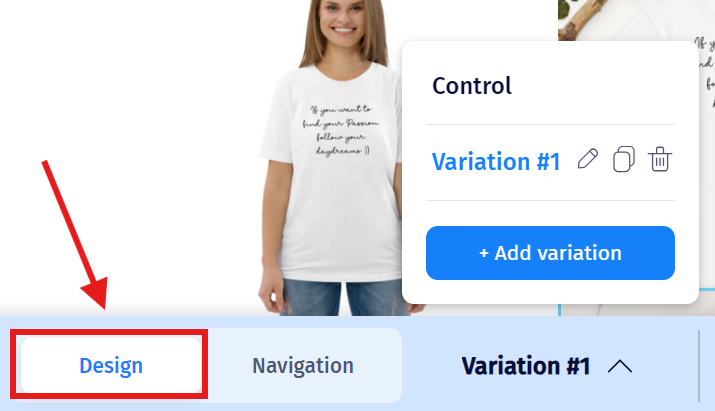
On the bottom left you can see three buttons. Design takes you to this current tab, allowing you to edit elements.
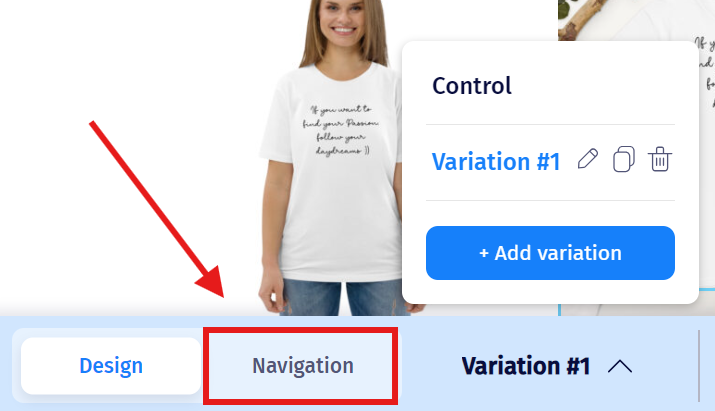
Navigation allows you to interact with the website itself, this is useful if you need to edit some elements after the page fold, or elements on other pages. Using this option you can navigate the website as if you were outside of the editor.
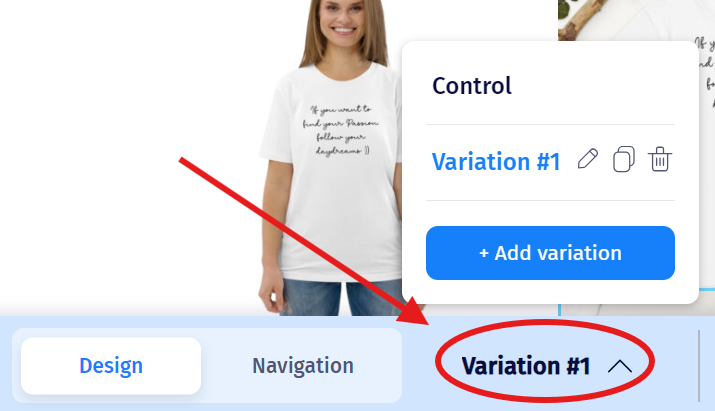
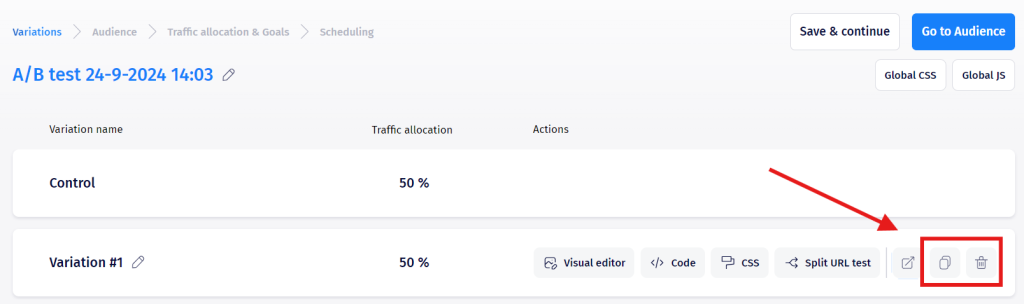
Hovering over the Variation Name will allow you to switch between Control and Variations, allowing you to add, delete or clone variations as per your needs.
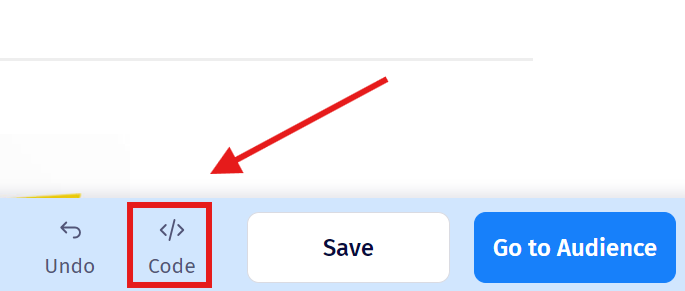
The Undo button on the bottom right of the Visual Editor allows you to undo the last change that was made during editing.

And the Code button allows you to write your own code for editing the variations.
While in Design mode, depending on the element type, it will contain the following operations:
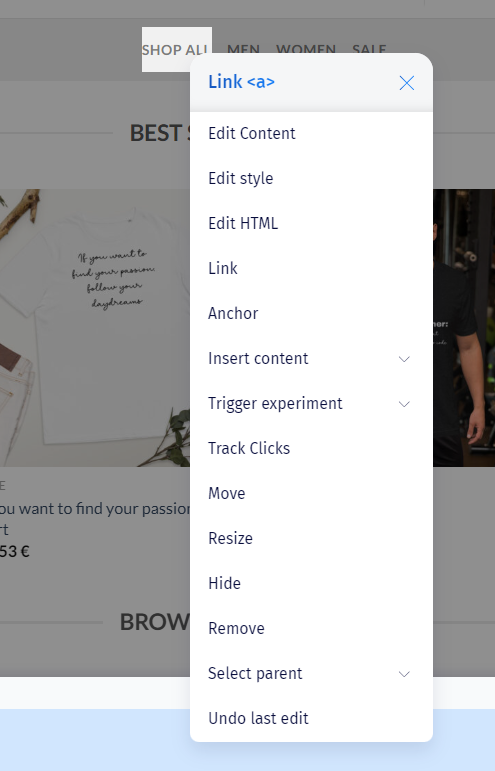
- Edit Content: allows you to make changes to the content of an element such as replacing the text inside a paragraph.
- Edit Style: you can change the style of the element, details related to text, color, background, dimensions, borders, layout or even add custom CSS attributes.
- Edit HTML: selecting this you can make changes inside the HTML code of the element.
- Link: an option available only for links, which lets you add a new URL for the element.
- Anchor: allows you to change the link anchor without losing the javascript events; this option is also available just for link-type elements.
- Insert Content:
- Before selected: you can add content before the selected element.
- After selected: adds content after the selected element
- Trigger Experiment:
- Trigger Interactions: you can set this element to trigger an overlay
- Trigger Survey: you set this element to trigger a survey
- Track Clicks: sets an on-click trigger goal that tracks how many clicks were made on that certain element.
- this trigger goal is created individually from inside each A/B test. It will not be available in the Goal section from the left side menu.
- Move: lets you set another position for the selected element from a CSS perspective (the position attribute).
- Rearrange: You can rearrange the element from an HTML perspective (it changes the hierarchy of the HTML elements that are included in the list).
- Resize: you can resize the element directly from the editor.
- Hide: hides the element from the page using the CSS style attribute ‘visibility: hidden’.
- Remove: removes the element from the page and all its attributes and values.
- Select Parent: selects the parent tag of the element.
- Undo last edit: removes the last change that was made.
You can also write the code yourself by using the Code button, as an alternative, or review how the changes you have done using the Visual Editor look like in code.
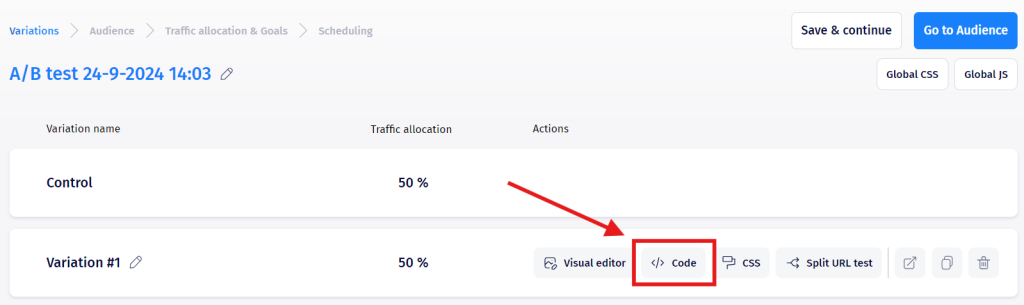
Please remember that instead of variable $ or jQuery, you must replace with mktz_$.
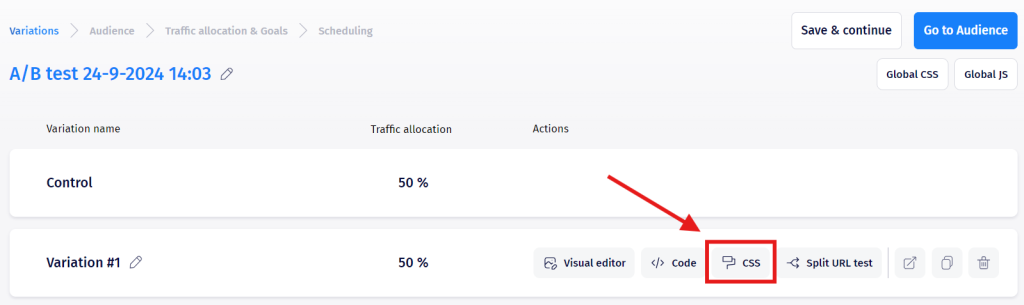
Another alternative to this is the CSS button, which allows you to insert CSS style which will be evaluated and applied to the variation.
The last thing to note on this section is the Duplicate and Delete buttons. Duplicate is useful if you want are looking for multiple Variations which have identical changes (e.x. 4 identical changes and 1 different change) and you don’t want to manually add the changes for each one of them. Delete will allow you to erase the Variation.
Step 3. Set the audience and segmentation
Now you have to choose your Audience. That means that you must Manage pages where you want to run this experiment” and select the Segment (Target) of visitors you want to see the experiment.
To select the pages where you want to run the experiment you can choose from different conditions for the URL :
1. URL is: With this rule, the A/B test will run only on the exact page introduced in the value field next to the condition
2. URL is not: With this rule, the A/B test will run on all the other pages but the one introduced in
the value field next to the condition
3. URL starts with: With this condition, the A/B test will run on all the pages that have an URL
which starts with the same value as inserted in the value field
4. URL ends with: With this rule, the A/B test will run on all the pages that have an URL which ends with the
same value as inserted in the value field next to the condition
5. URL contains: Using this condition the A/B test will run on all the pages that contain in their
URL the same value as the one inserted in the value field
6. URL does not contain: Using this condition the A/B test will run on all the pages that do not
contain in their URL the value entered in the value field
7. URL RegEx: Using this you can define with RegEx the pages where you want the A/B test to
run
8. Page contains keyword: With this, the A/B test will run only on the pages that contain the
keyword or keywords in a small sentence/grouped format
This is an example of a product description:
This is an awesome product with awesome features at half of the price of other providers.
Correct keyword to use: awesome product Not correct keyword to use: awesome providers
If you don’t have a large amount of traffic on your website, we recommend you add multiple pages in the test.
When you do this you must add only the pages that have the same structure as in case of an e-commerce website where all of the product pages look similar.

The same applies for Excluded URL pages, useful if you want the experiment to apply to multiple pages with few exceptions.
After you’ve done managing the pages where you want to run the experiment select the Segment of visitors who will be included.
By default the experiment will be set to All visitors, just press on the Select or create segment to change it.
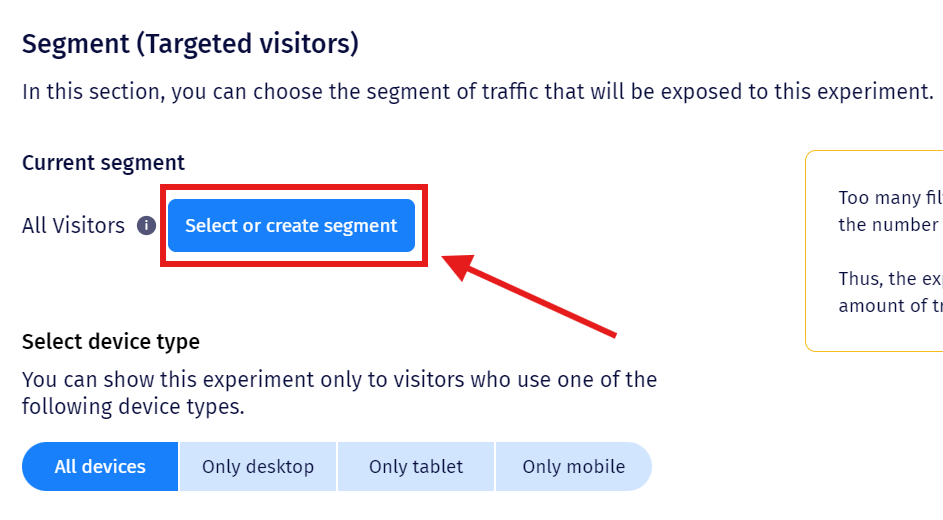
Here you are able to either select one of the existing segments or create a new custom.

We have a dedicated documentation for Segmentation, which covers how to set up a new segment, as well as provide details into each of the parameters available. You can find it here.
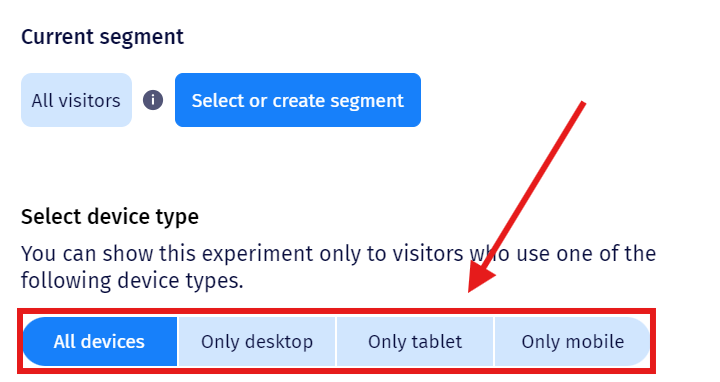
You can also customize the segmentation by the Device type, meaning only visitors using the specified device will be able to see the experiment.
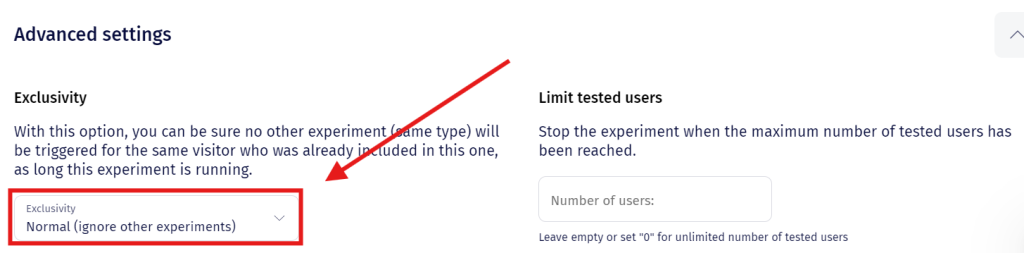
Advance Settings allows you to stop set limits for the experiment, meaning it will stop once a specified threshold is reached.
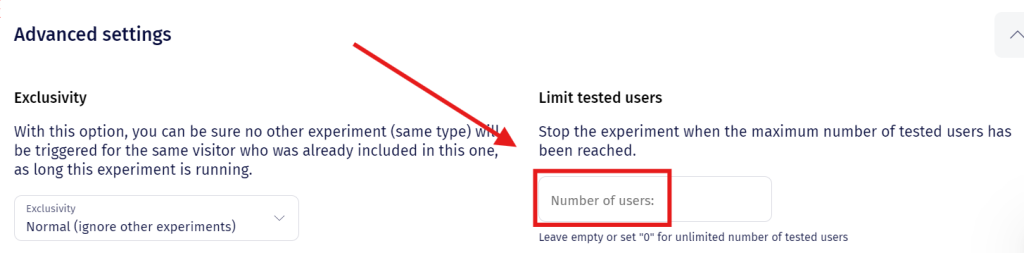
It also allows you to set exclusivity for your experiments, meaning you can either run multiple experiments at once or have only one of them prioritized.
Step 4. Set the traffic allocation and goals
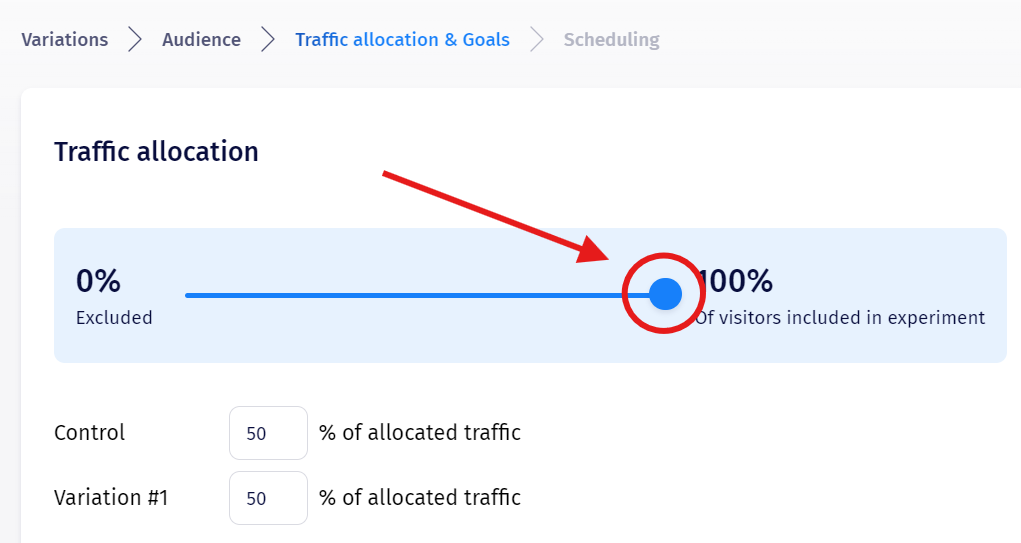
In the next tab Traffic Allocations and Goals you will select the percentage of visitors that will see the experiment. This percentage will be randomly extracted from the segment you have decided to use. You can run the test on all of the visitors who are included in the segment or just a part of them (let’s say 50%).
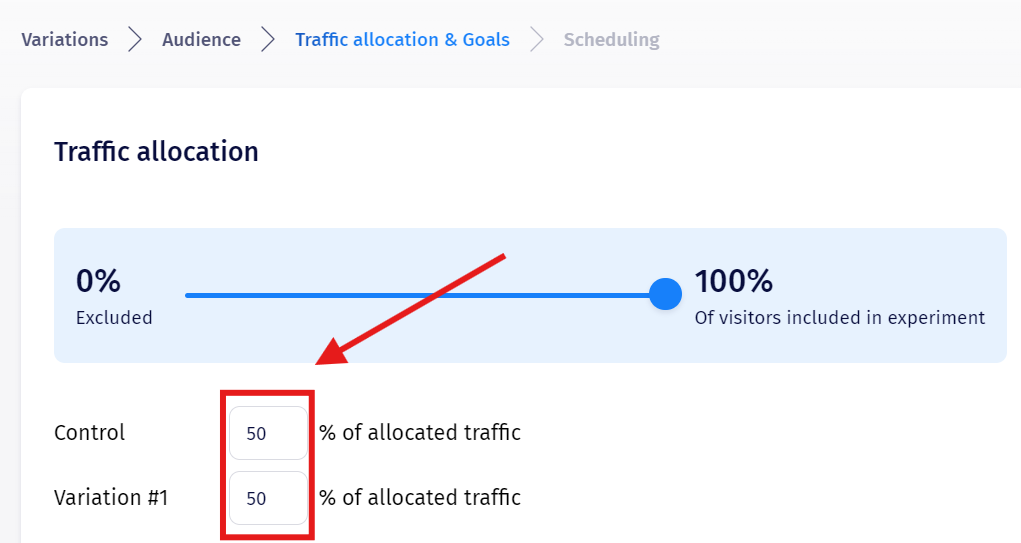
After the percentage of visitors is set you can use the variation traffic selector to modify how much of that percentage will see the Control ( original page ) and how much the Variation ( the page with the changes ).
Move the slider in order to determine the percentage of visitors from the total amount that will be included in the experiment.
By changing the values of the allocated traffic you can decide how the users will be split between Control and Variation.
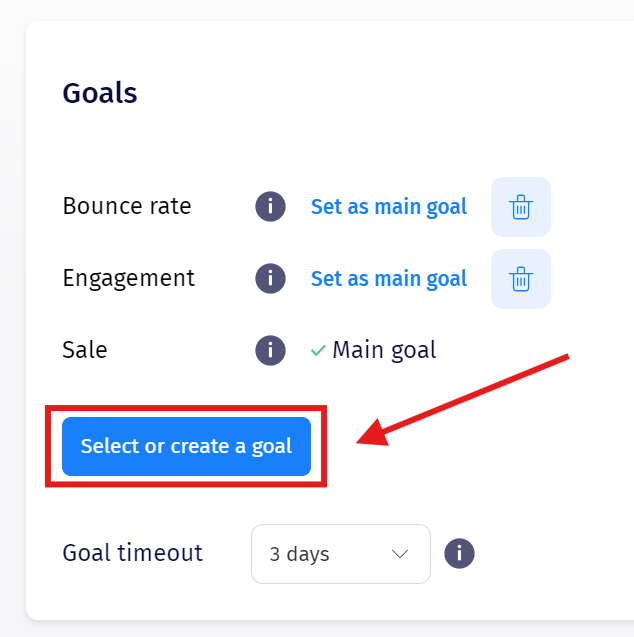
In the second part of the page, you will find the Goals. A goal is set to track sales, conversion rate, click rate, engagement, etc.
You can set them as page views or customizable goals such as conversion rate, sales – that require inserting a shortcode into the website’s source. The customizable goals allow you to see the impact of the change in the A/B test on the performance indicators: conversion rate, revenue, etc.
There are 3 predefined goals that you can use – Sale ( which works only after the Goal tracking code is inserted on the thank you page of your website – Click here for more details), Engagement and Bounce rate.
You can either select an already existing goal or create a custom one. Please remember that some goals might require integration on your website.
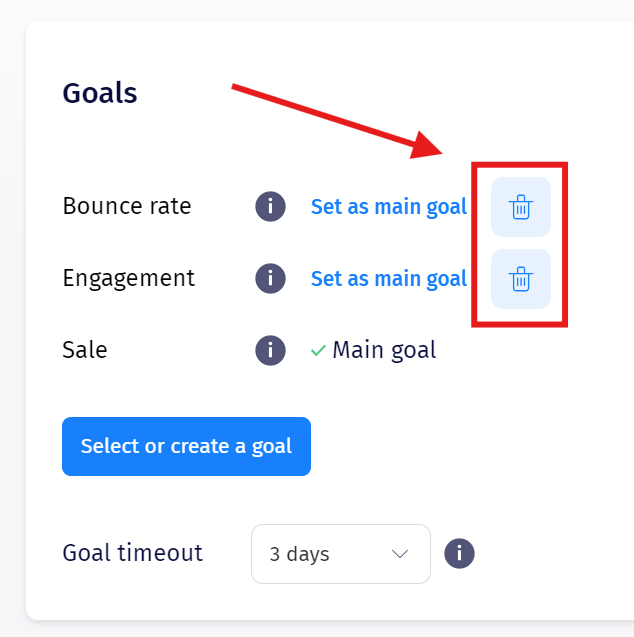
You can also remove specific goals from your experiment. These goals are measured by default but by pressing the Delete button you can remove them.
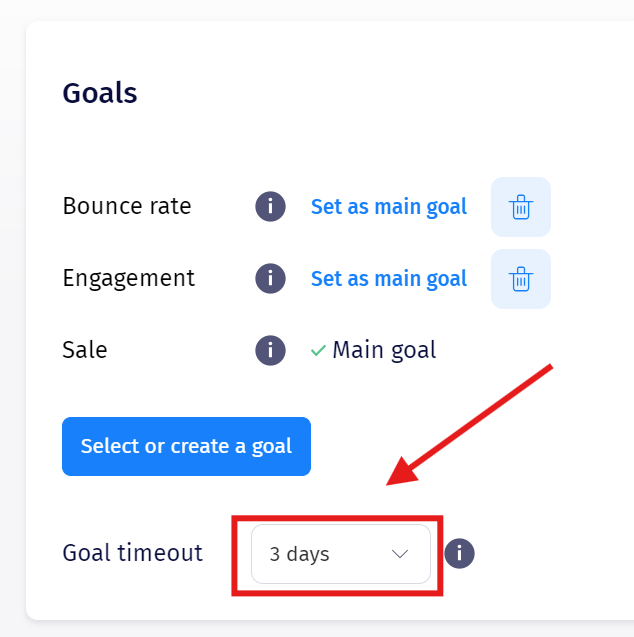
You are also able to select a Goal timeout. This is a time interval after which all conversion goals achieved are not recorded anymore for this particular experiment.
Step 5. Schedule and publish the experiment
The last step of setting up an A/B test experiment is to Schedule it. Here you can select the timeframe when the experiment will take place.
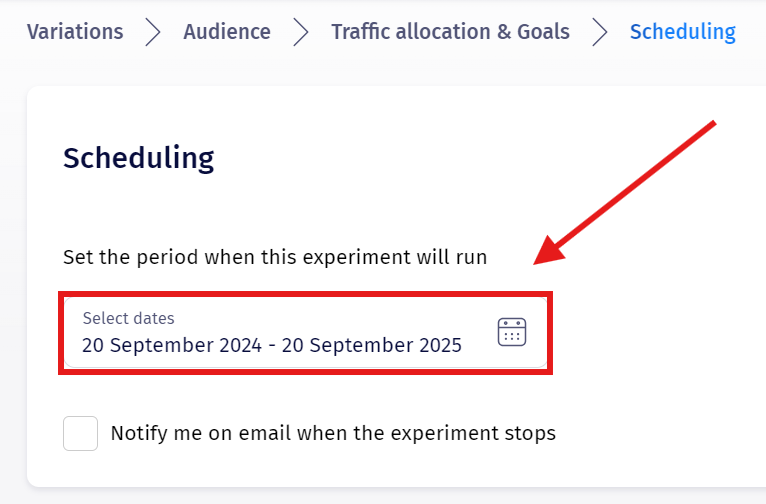
You can then check this box if you want to be notified of when the experiments ends, using either one or multiple email addresses.

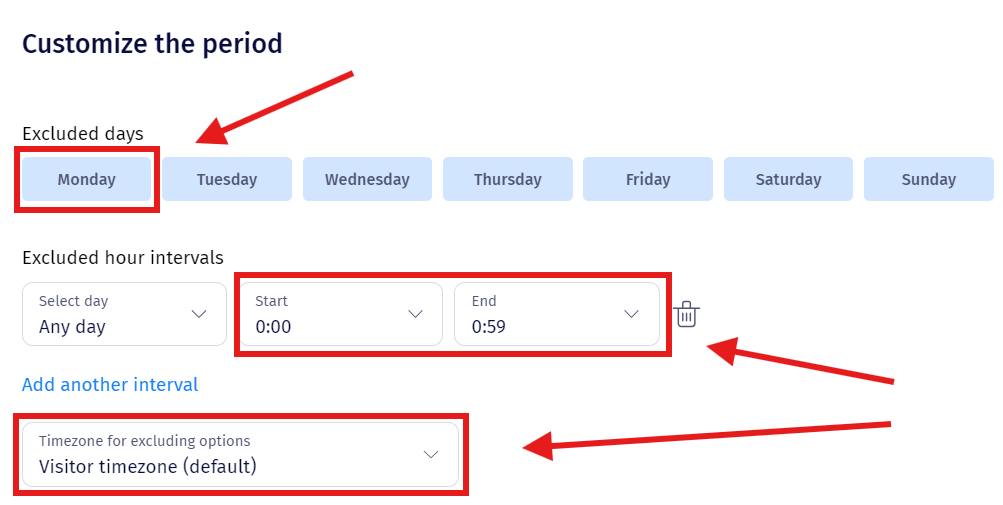
You can also set up excluded timeframes, either by selecting specific days or specific hours throughout the day. By default the Excluded hours intervals are not displayed but it will appear once you press the Add another interval button. The timezone options represents the timezone which should apply to the hour intervals you have selected previously.
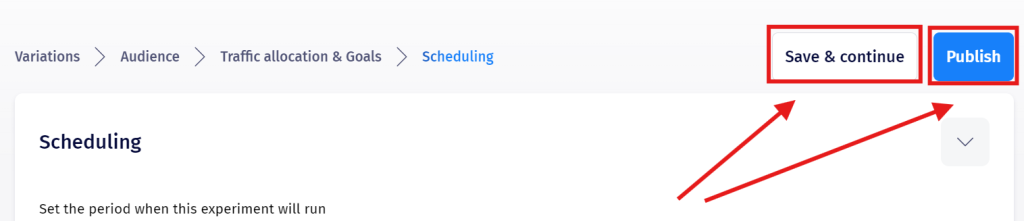
Last, but not least, Save & Continue or Publish the experiment.
That’s it! You’re ready to see which idea converts more!
DON’T FORGET: After each modification made you have to wait 3-4 minutes until it will be visible in the front end.