
Custom Goal
Overview
A Custom Goal can be triggered anywhere you want, but requires explicit integration - unlike Pageview, On Click, or Scroll, which need no code.
Creating a Custom Goal
-
From the left menu, click Advanced, then Goals.
-
Press New Goal.
-
Choose a name, description, and whether to allow multiple conversions per visitor session (see below).
-
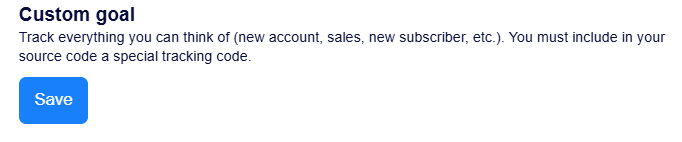
Select Custom Goal as the goal type.
-
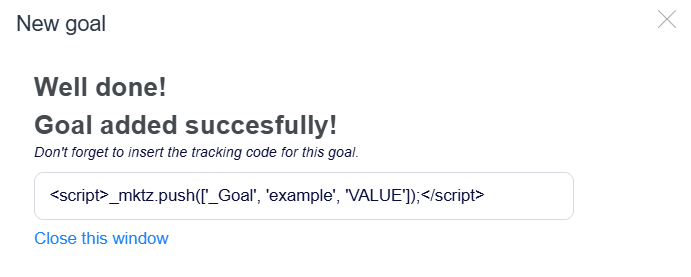
Press Save and wait for the code snippet to be generated.
Integrating the goal
The generated snippet looks like this:
<script>_mktz.push(['_Goal','NAME','VALUE']);</script>-
NAME- the goal's name as defined in Explore. -
VALUE- a numeric value for the conversion, in12345.67format without a currency symbol. Use0if the conversion has no value.
Insert this snippet into any JavaScript event on your website - onclick, onload, onmouseover, onmouseout, onfocus, and so on.
The main tracking code must be installed on every page where this snippet is used. VALUE also accepts negative numbers.
Installing a Custom Goal via GTM
If your website already uses Google Tag Manager, you can deploy a Custom Goal through it instead of editing your site's code directly.
Before starting, confirm: the Explore tracking code is installed, GTM is installed, and you're comfortable with basic JavaScript for defining GTM trigger conditions.
-
In Google Tag Manager, open your workspace and go to Tags.
-
Press New.
-
Name the tag to reflect its type, platform, and purpose - e.g. HTML - Explore - Goal - Add to Cart.
-
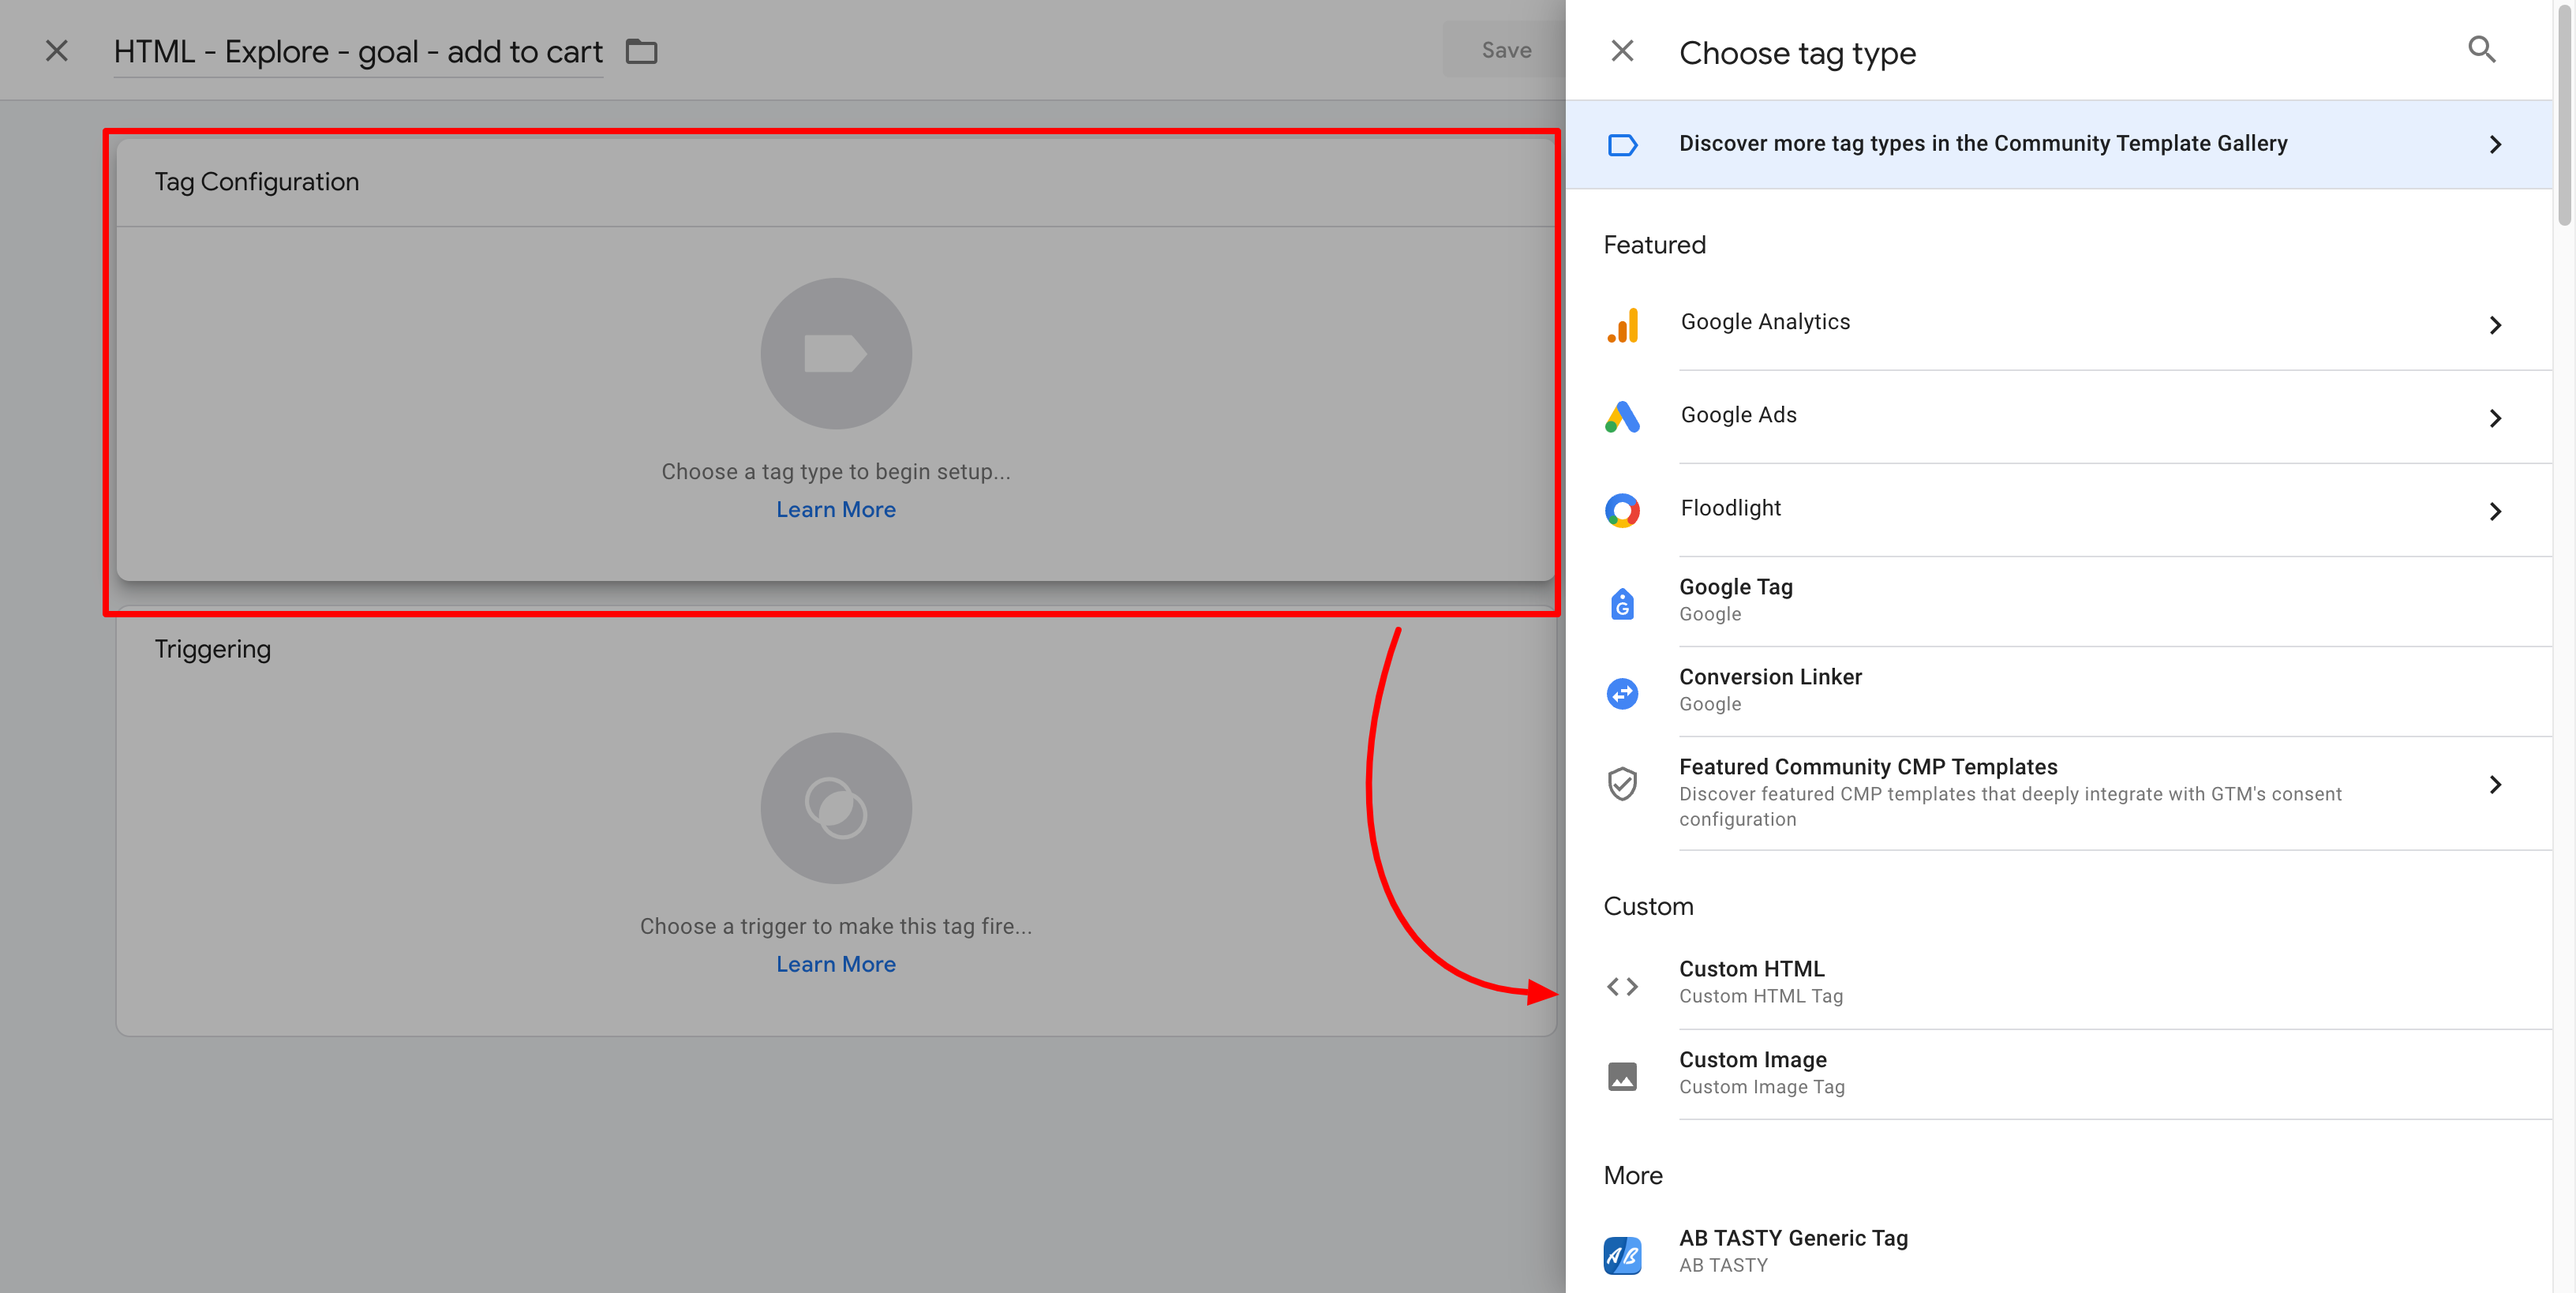
Under Tag Configuration, select Custom HTML.
-
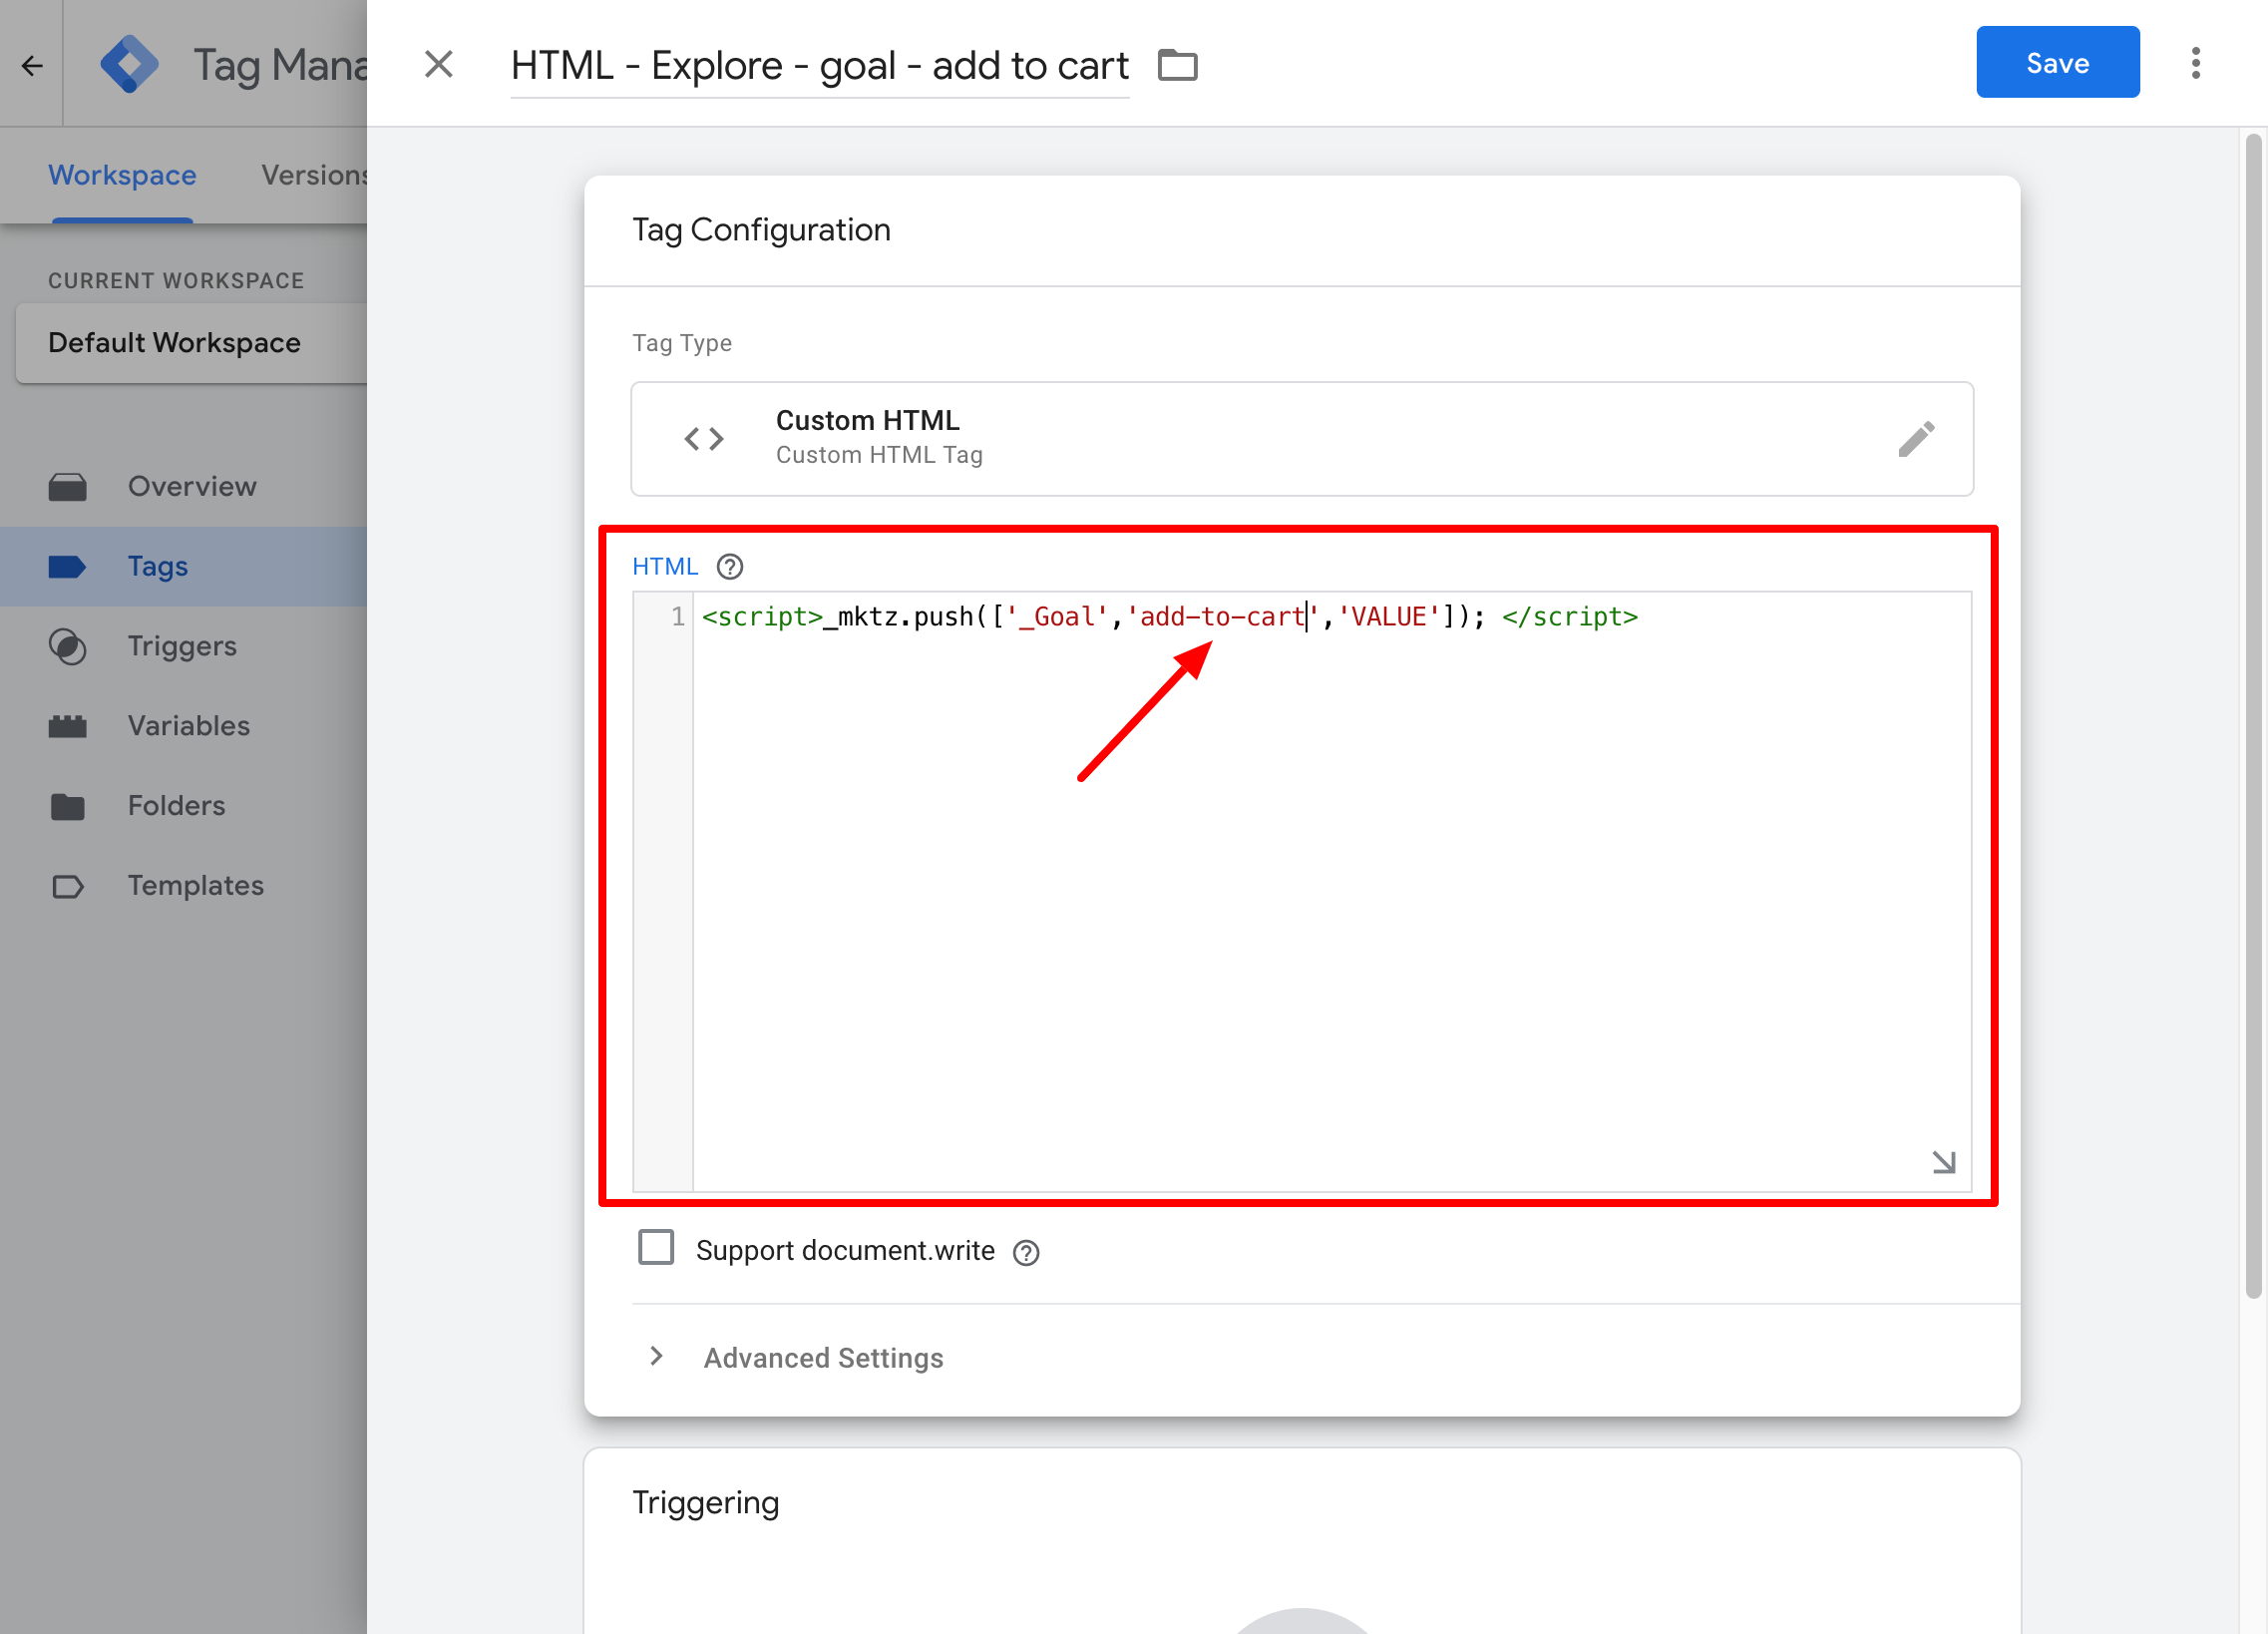
Paste the snippet, replacing the goal name to match your action, e.g.
<script>_mktz.push(['_Goal','add-to-cart','VALUE']);</script> -
Create a trigger defining when the tag should fire (e.g. "add to cart click").
-
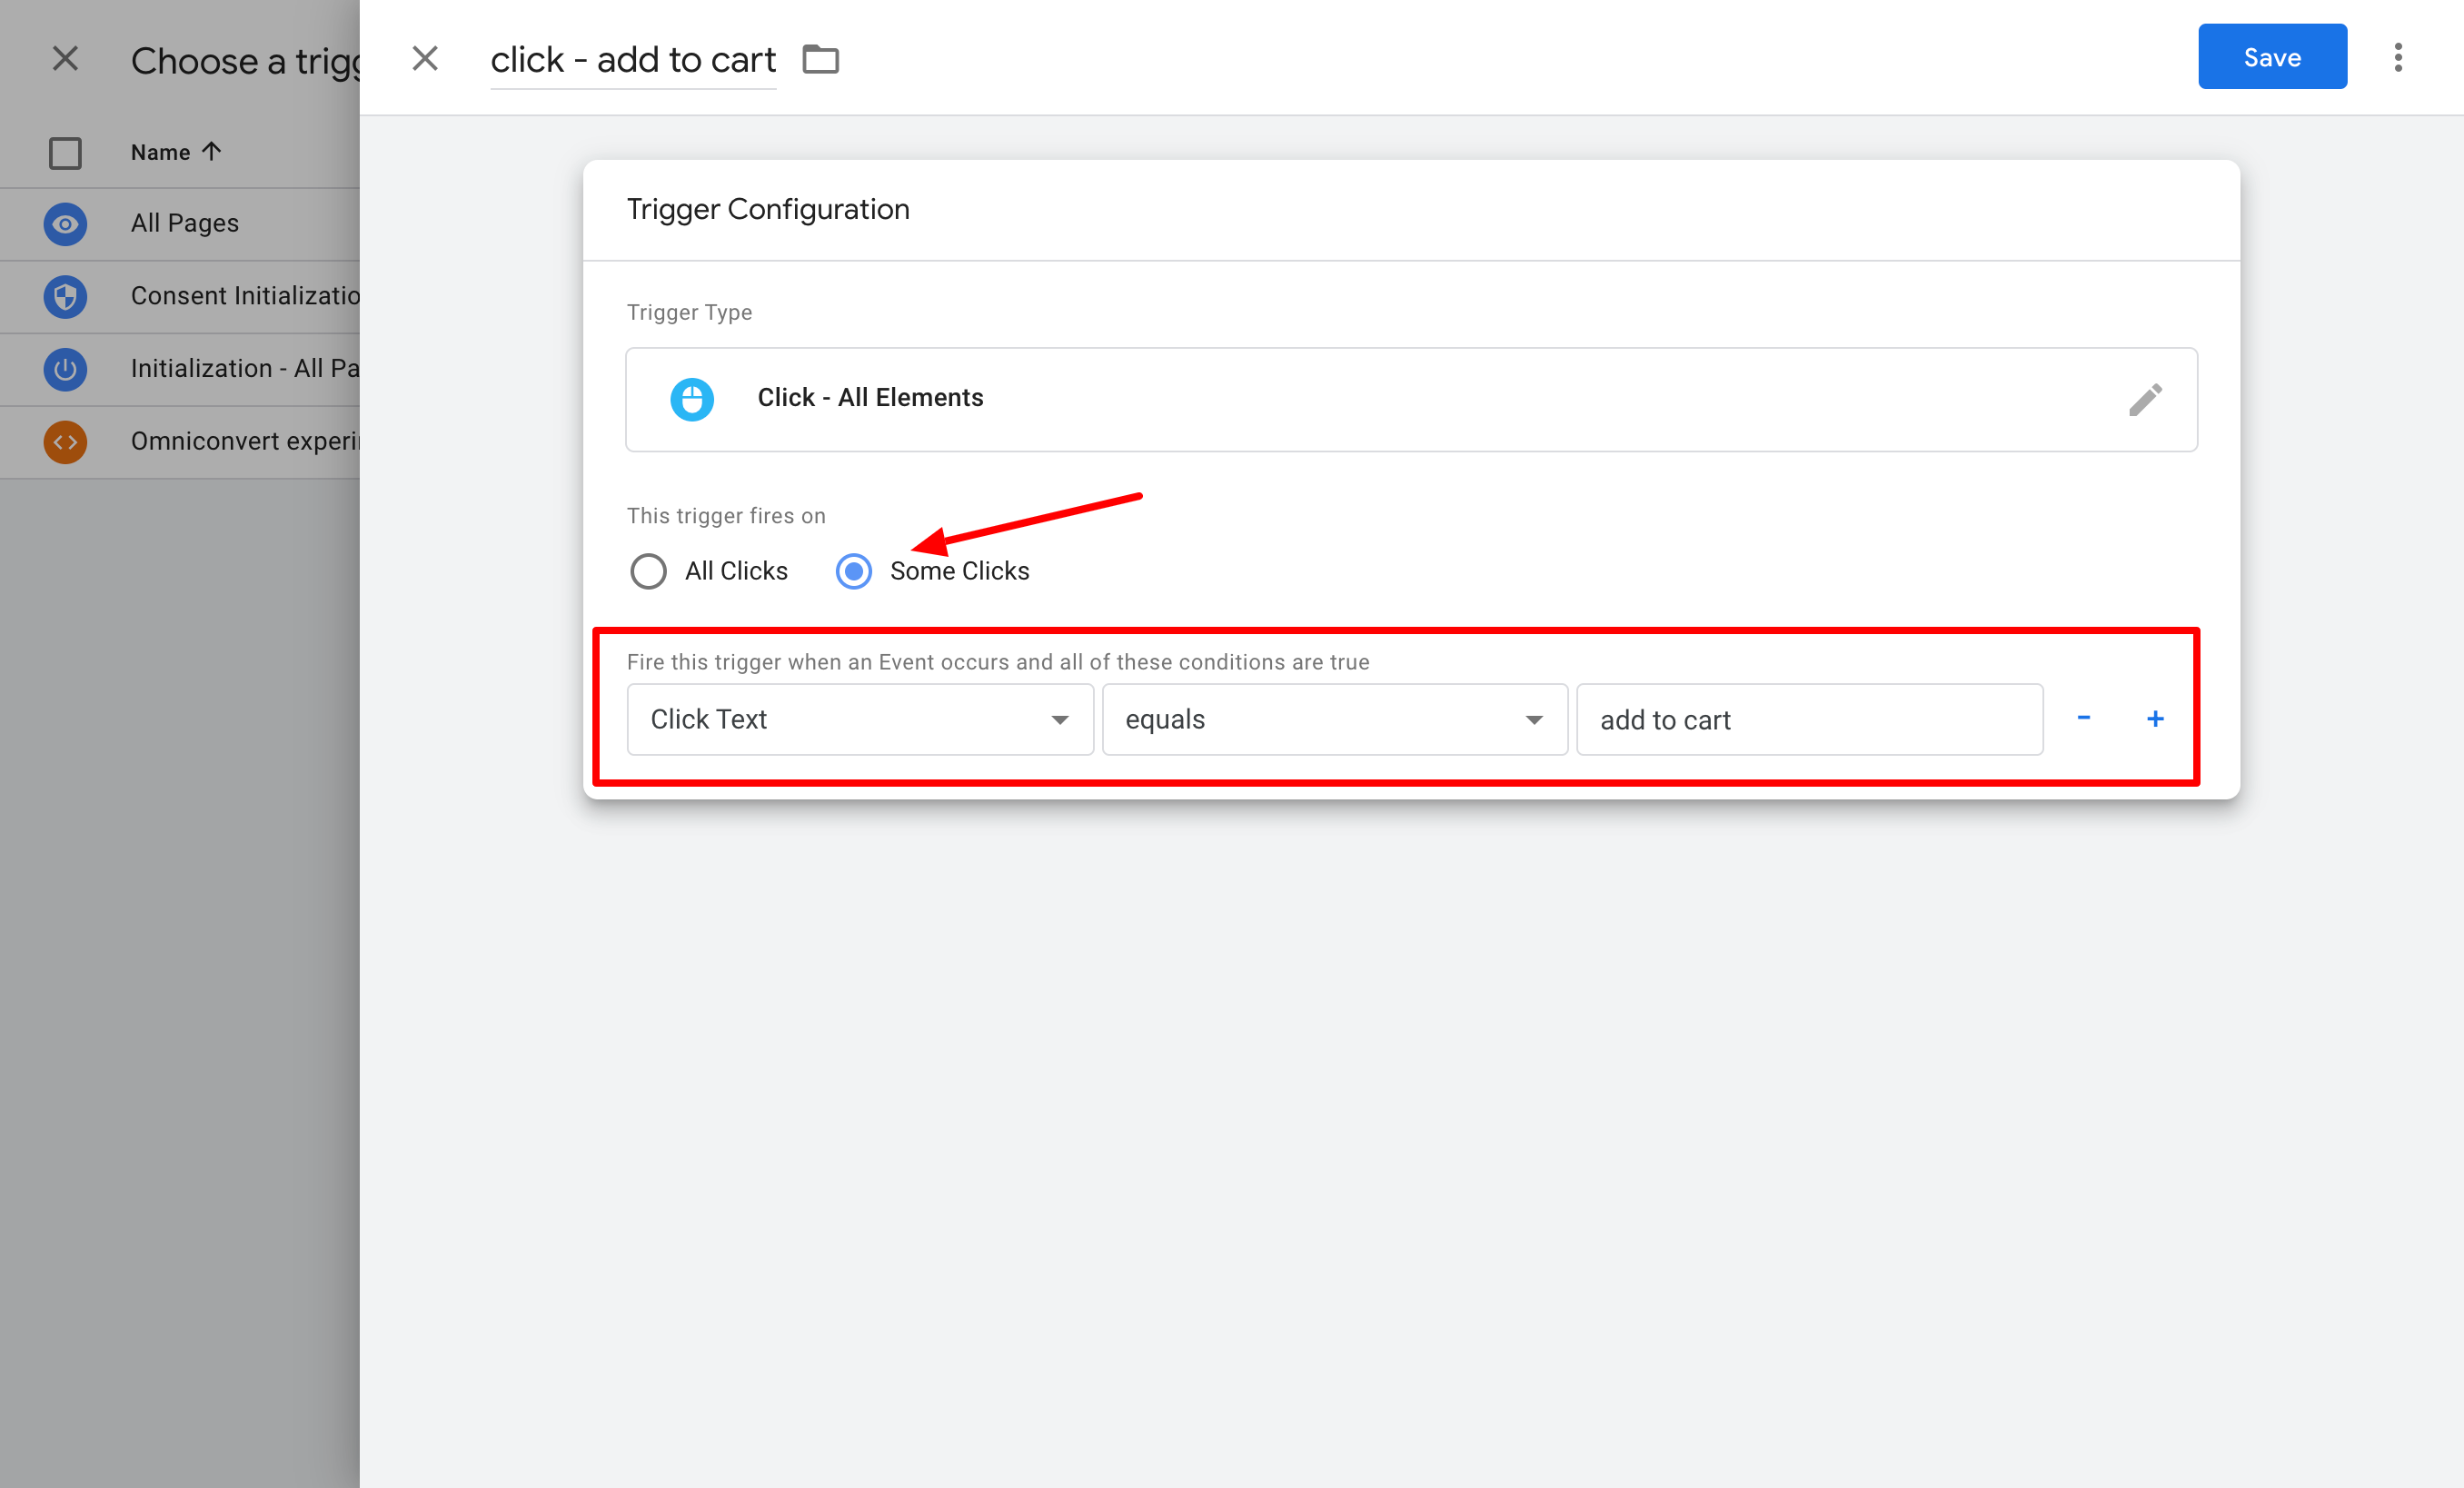
Name the trigger (e.g. Click - Add to Cart) and set the trigger type to All Elements → Click.
-
Under Some Clicks, add a condition - for example, Click text equals "Add to cart" (assuming that's your button's exact text).
 Note
If parameters like Click Text, Click Classes, or Click ID aren't showing up, enable them first from the parameter dropdown.
-
Save the tag.
-
Use GTM's Preview mode to confirm the tag fires as expected - you'll be prompted for your website's URL and to trigger the action manually.
-
Publish your container, then wait a couple of hours before checking that the Goal Count in Explore is increasing.
Single vs. Multiple Conversions
When creating the goal, you can enable allow multiple conversions per visitor session.
-
Disabled (default) - only the first matching event in a session counts as a conversion.
-
Enabled - every matching event in the same session counts as a separate conversion.