
Prompt to Code
Overview
Prompt to Code is the AI panel inside the Visual Editor (also called Explore AI) that turns a plain-language description of an A/B test change into working variation code, matched to your site's real design. It's connected to a databank of past experiments, so you can describe an exact change or just ask it for ideas.
1. Connect a provider (one-time setup)
Open the AI panel
Create a new experiment and open the Visual Editor. In the bottom-right corner, click the AI icon to open the panel.
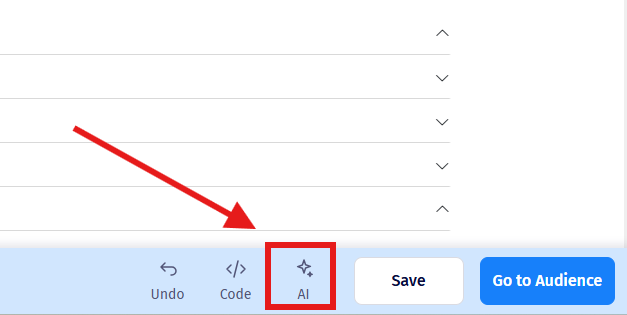
Connect a provider
Click Connect a provider and select the provider your team uses.
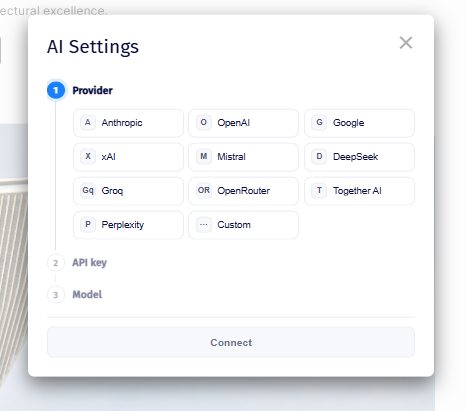
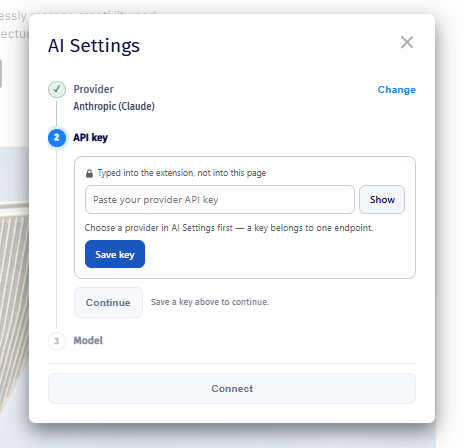
Add your API key
Get your API key from that provider, paste it in, and click Save key.
Select a model
Select the model you want to use to finish connecting the provider.
Change or remove your key later
To get back to these settings, open the AI panel and click the cogwheel icon next to Preview. From here you can change the model, replace the stored key, remove it, test the connection, or switch to a different provider entirely.
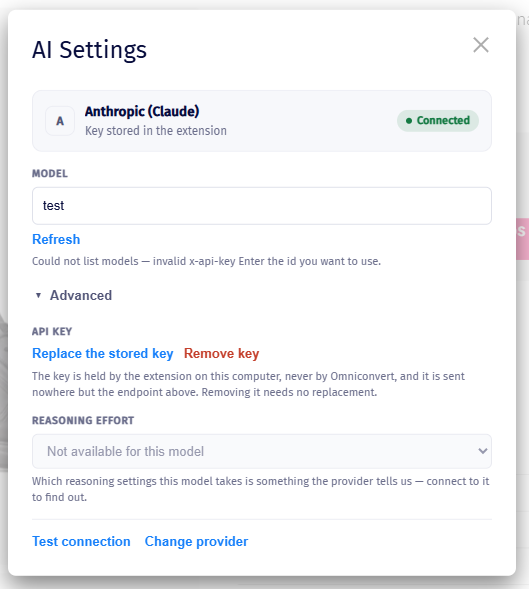
The key is held by the browser extension on your computer, not by Omniconvert, and is never sent anywhere but the provider's own endpoint. Removing it needs no replacement.
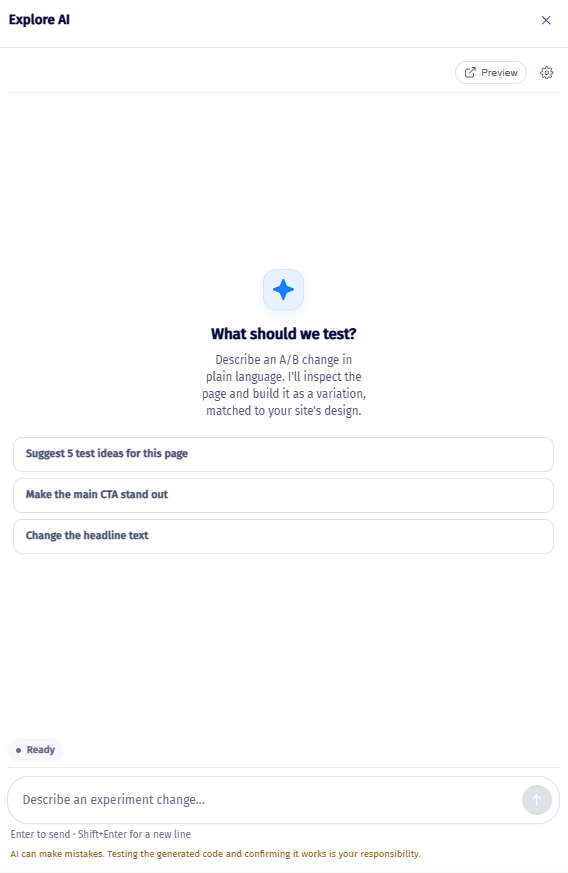
2. Write a prompt
Once a provider and model are set, the panel is ready to use. It's connected to a databank of past experiments, so you can either describe the exact change you want to test, or ask it to suggest ideas.
3. Review the estimate, then start
After you submit a prompt, you get an estimate of how many tokens it will cost, along with two optional toggles:
Code review: has the AI read the generated code and check for defects.
QA: tests the experiment across multiple scenarios.
Both can be skipped at this stage. You'll be asked again once the code has been generated, so there's no need to decide upfront.
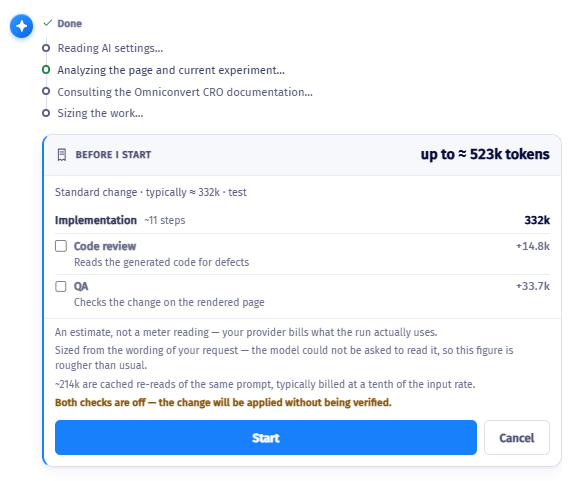
Press Start to begin generating the code.
4. Naming and goals
Once the code is generated, if the experiment doesn't already have a name, Prompt to Code will suggest one.
It will then suggest goals and metrics that fit the experiment. These are set up as custom goals (fired via custom code) rather than the regular goals you configure manually.
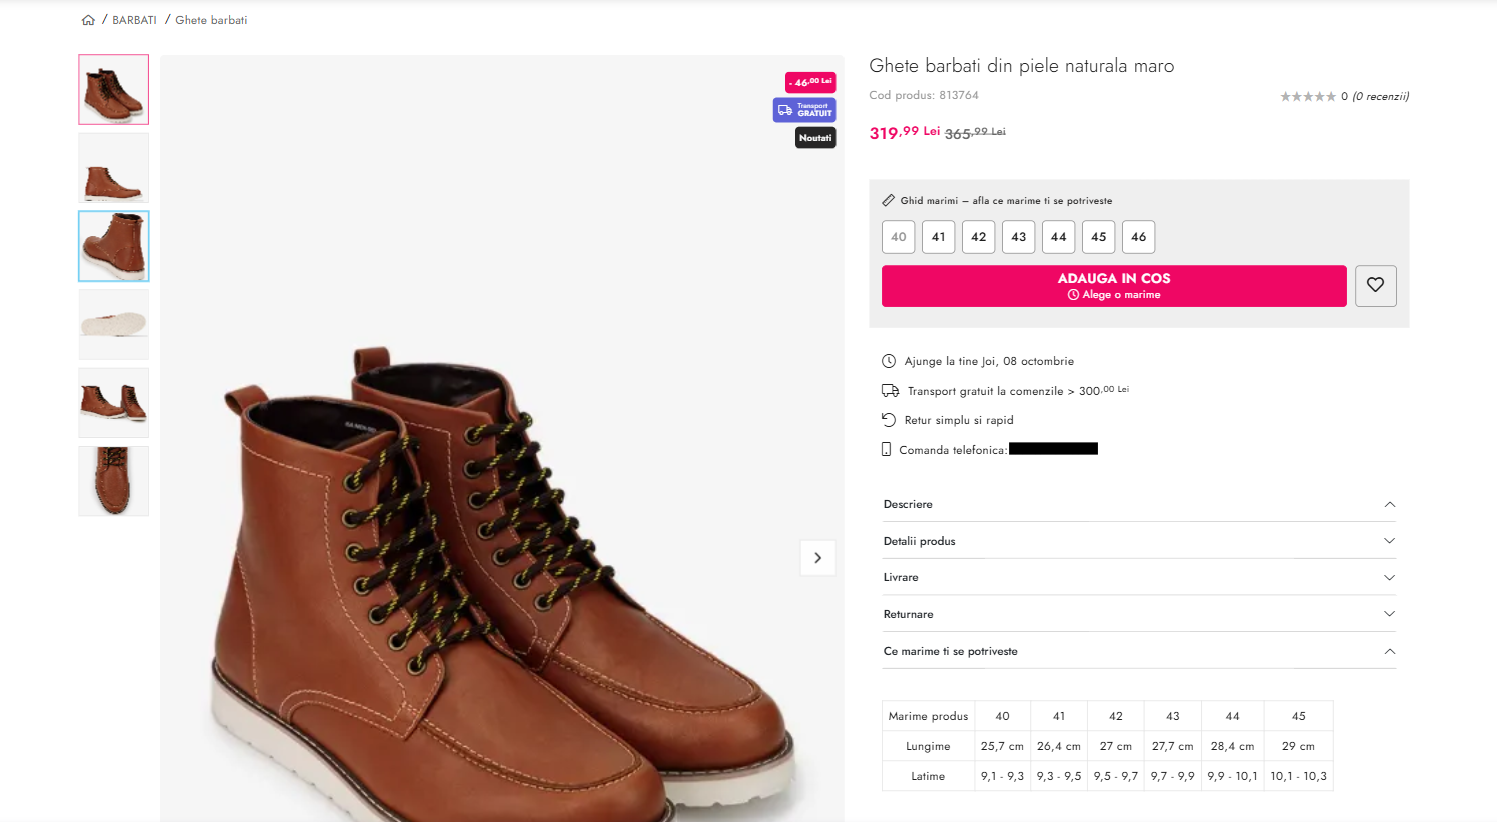
For instance, when a prompt added thumbnails to a product gallery (see the example below), Prompt to Code noticed there was no existing gallery goal and added a thumbnail click goal for the new interaction.
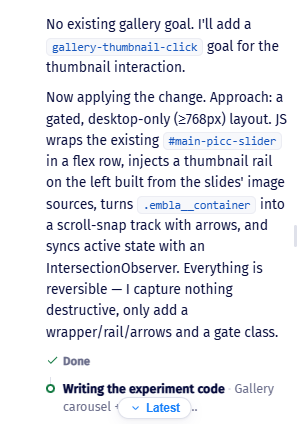
If code review and QA weren't ticked at the start, you'll be asked at this point whether to run them now.
5. Preview and finish
Use the Preview button at any point to open a new tab with a live preview of the experiment.
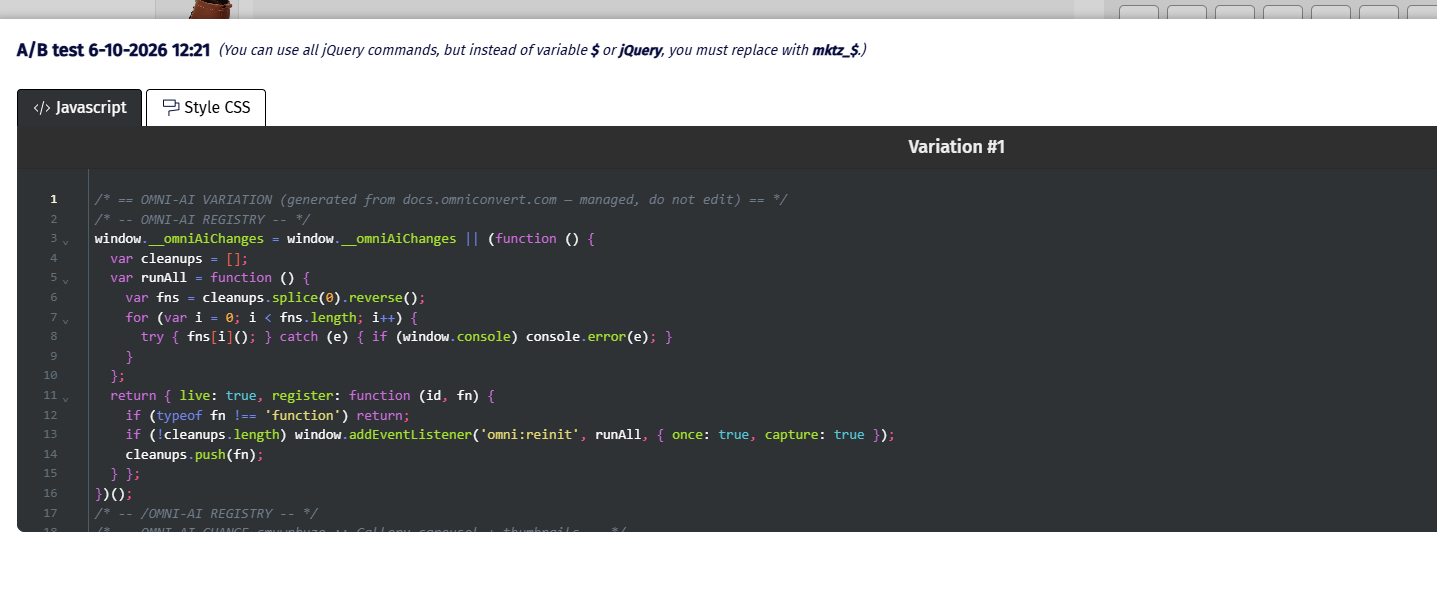
Once you're happy with the experiment, exit the AI widget by pressing the Close button in the top right corner. The generated code is added to the experiment, ready to launch, and you can see it by pressing the </> Code section.
Example: turning a product gallery into a carousel
On this product page, all of the product images are listed one after another.
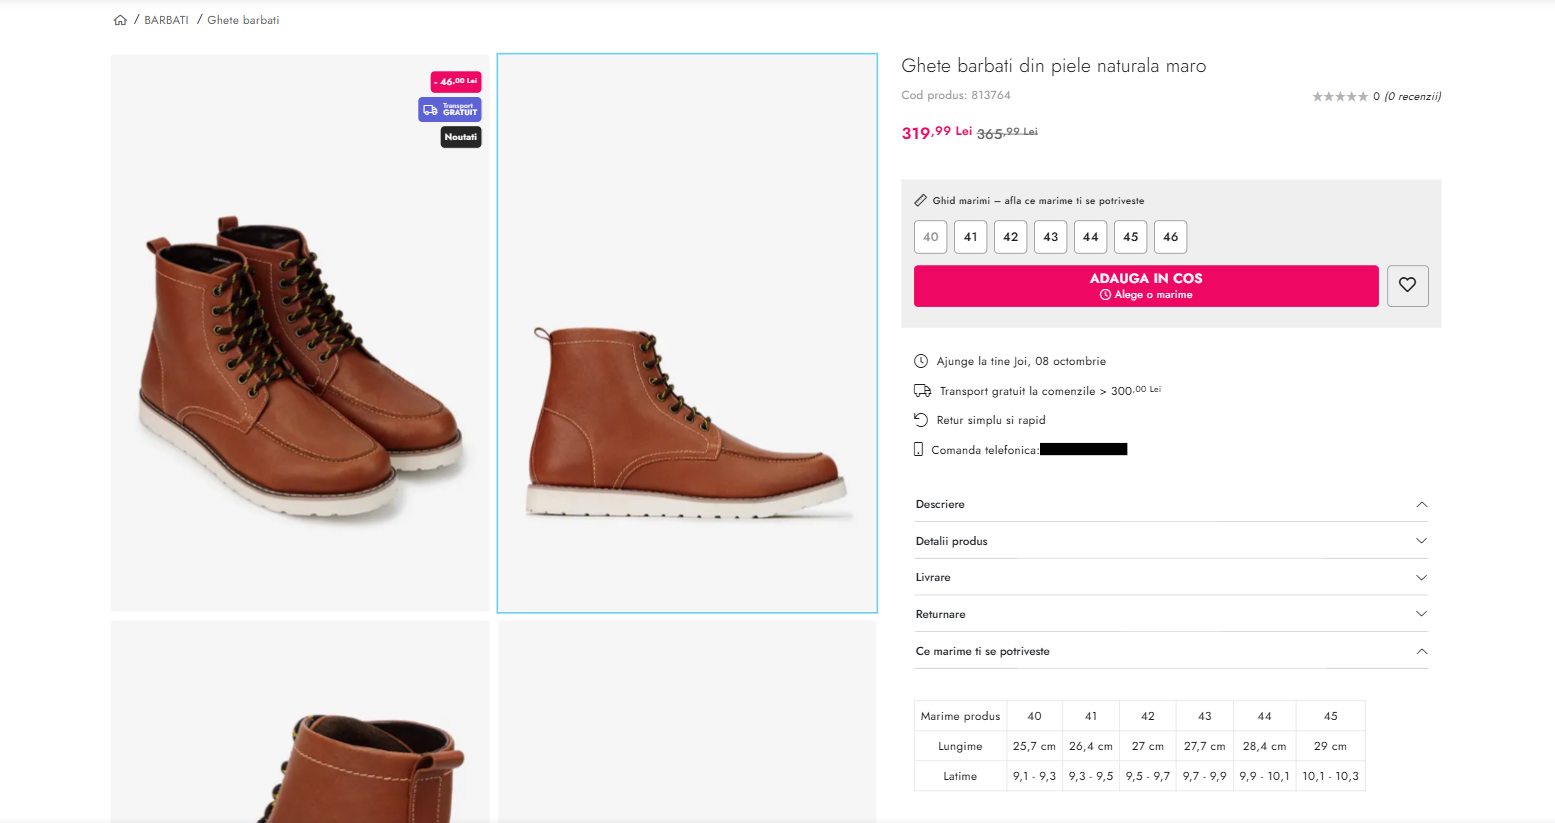
The prompt asked for the images to be turned into a carousel, with a thumbnail for each image added on the left of the carousel.
This is the result: the images are now in a carousel, with a column of thumbnails on its left.
Good to know
Prompt to Code can also write custom code for the Global Code section, not just the variation. That's useful when you need something to fire on control as well, for example tracking a goal that should count regardless of which variation a visitor sees.